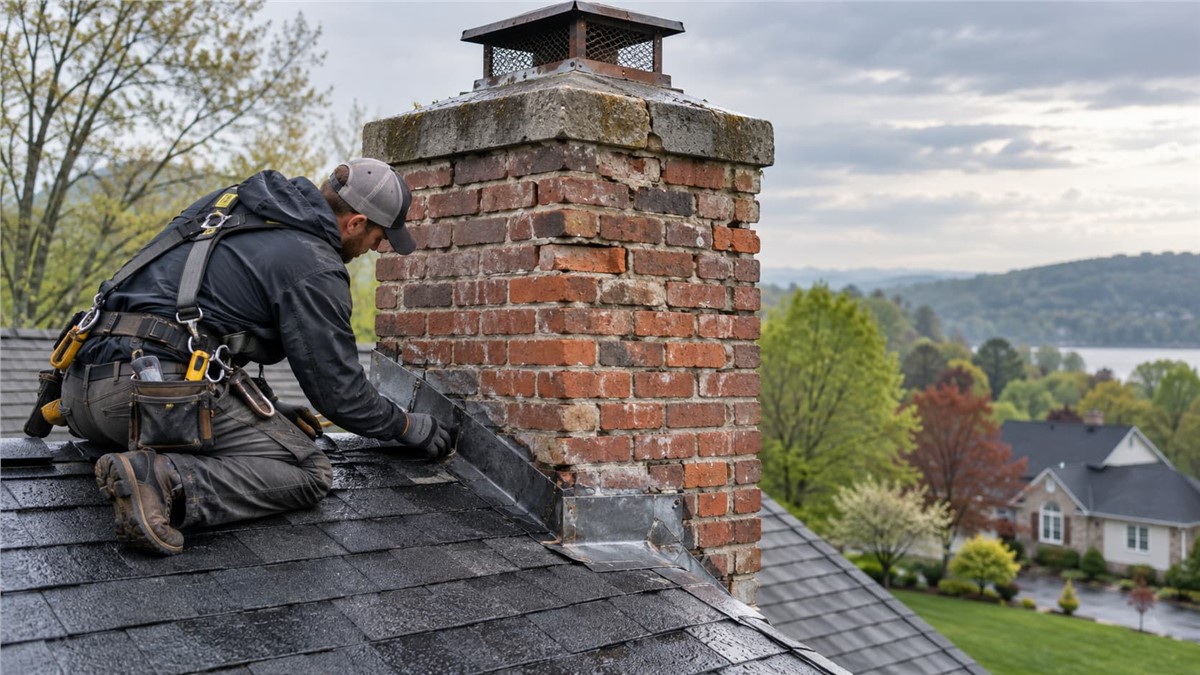
Most chimney repairs stem from water damage caused by freeze-thaw cycles, cracked crowns, failing flashing, and eroded mortar, and catching warning signs like spalling brick, efflorescence, and interior water stains early keeps fixes small and affordable. Lasting solutions include repointing with mortar softer than the brick, step flashing paired with counterflashing set into a reglet, a properly sloped crown, and a breathable silane or siloxane repellent, while twice-yearly inspections and a licensed, insured contractor who shows photo evidence help you avoid unnecessary rebuilds. |
Your chimney takes more abuse than almost any other part of your house. In the Mid-Atlantic, rain, freeze-thaw cycles, and summer heat break down mortar, crowns, and flashing every single year. Even famous structures wear out. Dixon's Chimney, the landmark in Carlisle, England, has needed major restoration work. Your chimney won't make the news, though. A small crack just turns into a ceiling water stain or a loose brick on your patio a few seasons later.
Here's the upside: chimney repairs cost far less when you catch problems early. This guide shows you which warning signs to watch for, how repointing and flashing repair actually work, and when a full rebuild makes more sense. You'll also get a maintenance checklist, a list of fixes you can handle yourself, and a simple way to vet a contractor before you sign anything.
Common Chimney Problems and Warning Signs
Chimney damage usually starts small and quiet. A hairline crack or a few crumbly mortar joints rarely look urgent from the driveway, so they get ignored for another season, then another. Once you know how that damage builds, it's much easier to schedule chimney repairs while the fix is still quick and affordable.
How Chimneys Deteriorate Over Time
Brick and mortar are porous, which means they absorb water much like a stiff sponge. Mortar is designed to be the softer, sacrificial part of the wall, so the joints wear down long before the bricks do. That's normal. The trouble begins when eroded joints go unrepaired and let more water slip behind the face of the masonry.
At the top of the chimney, the concrete crown shrinks as it cures, bakes in the summer sun, and eventually cracks. Those cracks send rainwater straight into the chimney's core. Meanwhile, the sealant around your flashing dries out and pulls away from the brick, opening a path for leaks into your attic or ceiling. Inside the flue, acidic byproducts from burning wood or gas slowly eat away at clay tiles and older liners. None of this happens overnight, but each small failure speeds up the next one, which is why a minor repair today often prevents a major rebuild later.
Why Mid-Atlantic Weather Is Hard on Masonry
Winters in Northern Virginia, Maryland, and D.C. swing above and below freezing over and over, sometimes several times in a single week. Add muggy summers and wind-driven rain from nor'easters and the remnants of tropical storms, and your chimney rarely gets a chance to dry out completely. For masonry, that constant moisture is the real enemy.
Freeze-thaw damage happens when water soaks into brick or mortar, freezes, and expands. That pressure widens tiny cracks, and every new cycle lets in more water to freeze the next time. |
Warning Signs You Shouldn't Ignore
You don't need to climb on the roof to spot most chimney problems. A quick look from the yard, the attic, or the fireplace can reveal plenty. Here are the red flags worth acting on:
- Spalling brick: Flaking or popping brick faces mean water is freezing inside the masonry and breaking it apart from within.
- Efflorescence: White, chalky stains show that moisture is traveling through the brick and leaving mineral salts behind as it dries.
- Soft or crumbling mortar: If you can scrape mortar out of the joints with a key or screwdriver, it has lost its strength and needs repointing.
- Interior water stains: Discoloration on ceilings or walls near the chimney often points to failed flashing or a cracked crown.
- Rust or leaning: Rust on the damper or firebox, or a chimney that tilts even slightly, signals moisture or structural trouble that calls for a professional inspection right away.
Common Chimney Repairs and How They Work
Nearly every chimney problem traces back to water getting into places it shouldn't. The chimney repairs below are the ones we handle most often across the DMV, listed roughly from routine maintenance to major work. Once you understand how each repair is done, it's much easier to read a contractor's quote and catch shortcuts before they turn into bigger bills.
Repointing Mortar Joints
Mortar is meant to wear out before your brick does. When joints start receding, crumbling, or sounding hollow when you tap them, water can soak straight into the masonry. Repointing (also called tuckpointing) swaps out that failing mortar while leaving the bricks in place.
A quality repointing job follows these steps in order:
- The mason cuts out deteriorated mortar to a depth of about two to two and a half times the joint width, using hand chisels or a grinder fitted with a controlled blade.
- Joints are brushed or blown clean, then lightly misted so the brick won't draw water out of the fresh mortar too quickly.
- New mortar is packed in layers, and each layer is allowed to firm up before the next goes in.
- The finished joints are tooled to match the original profile, which helps shed water and keeps the repair from looking patched.
The mortar mix is just as important as the technique. Older homes, particularly those built before the 1930s, tend to have soft brick and lime-rich mortar. Filling those joints with hard, cement-heavy mortar pushes stress into the brick faces, and the brick begins to crack and flake.
New mortar should always be weaker than the brick around it. Mortar is cheap to replace. Brick isn't. |
Flashing Repair
Flashing is the metal seal where your chimney meets the roof, and it's the most common cause of the chimney leaks we diagnose. A correct installation has two layers: step flashing woven into the shingle courses, and counterflashing set into a cut mortar joint (called a reglet) that overlaps the step pieces.
Failing flashing usually shows up as cracked, dried-out caulk, rusted steel, or counterflashing that was simply glued onto the brick face. Roofing cement may stop a drip for a season, but it's only a patch. A lasting fix means removing the old metal and installing new flashing the right way. Chimneys wider than 30 inches also need a cricket (a small peaked diverter on the uphill side) so water and debris don't collect behind the stack.
Chimney Crown and Cap Repair
The crown is the concrete slab that tops the masonry. Plenty of builders cut corners here and trowel on a thin mortar wash instead of forming a true crown, and those washes tend to crack within a few winters. Hairline cracks can be sealed with an elastomeric crown coating like ChimneySaver CrownSaver. Wider or deeper cracks call for a new cast crown that slopes away from the flue and extends past the brick with a drip edge.
The cap is a separate component: a metal hood with mesh sides that keeps out rain, animals, and leaves. Stainless steel caps last years longer than galvanized ones, so they're the better value for most homes.
Waterproofing and Sealing Brickwork
Brick is porous and soaks up water like a stiff sponge. A good water repellent reduces that absorption while still allowing trapped moisture to escape as vapor. That breathability is what makes it work. Paint, acrylic sealers, and other film-forming coatings trap moisture inside the brick, and when that water freezes, it pops the brick faces off.
Choose a silane or siloxane repellent that's labeled vapor-permeable and made specifically for masonry. Timing also matters. Let any repointing cure completely before applying a repellent, and repair cracks first, because sealer can't bridge an open gap.
Repair vs. Rebuild: Comparing Scope and Cost
At a certain point, patching stops paying off. If the bricks above the roofline are spalling across several courses, the stack is leaning, or bricks come loose in your hand, a partial rebuild from the roofline up is usually the safer and more cost-effective choice.
The table below compares the scope, relative cost, and best use for each option:
Chimney Repair vs. Partial Rebuild vs. Full Rebuild
| |||
Option | Typical Scope | Relative Cost | Best For |
Targeted Repair | Repointing, flashing, crown sealing, a few replacement bricks | Lowest | Sound structure with localized wear |
Partial Rebuild | Tearing down and relaying brick above the roofline, new crown and flashing | Moderate | Widespread spalling or loose brick at the exposed top |
Full Rebuild | Rebuilding from the foundation or firebox up | Highest | Structural leaning, settling, or failure below the roofline |
A trustworthy contractor will show you photos of the damage and explain why one approach makes more sense than another. If someone recommends a rebuild, ask to see that evidence before you sign off on anything.
Preventing Damage and Choosing the Right Help
Most expensive chimney repairs start as small problems that nobody noticed. A quick check in spring and fall lets you spot trouble early, take care of the simple tasks yourself, and recognize when it's time to call a professional.
Chimney Repairs You Can Safely Handle Yourself
For most homeowners, the roof is off limits. A steep, slick slope beside a heavy masonry stack is a dangerous place to work without training and fall protection. Fortunately, a lot of useful work happens from the ground and inside the house.
White, chalky efflorescence on the lower brick usually comes off with a stiff nylon brush and plain water. Avoid wire brushes and pressure washers, because both can strip away the hard outer face that protects the brick from moisture. Indoors, look over the firebox for loose bricks or crumbling mortar joints, and confirm the damper opens and closes all the way.
Before you schedule an inspection, collect some evidence. Take photos of stains, cracks, and any debris that has landed on the roof or patio. Keep a simple record of when leaks appear (steady rain, wind-driven storms, or snowmelt), since that pattern helps a pro figure out whether the flashing, crown, or brick is letting water in.
Clear photos and a short leak log can turn a two-hour diagnosis into a twenty-minute one. |
Preventative Maintenance Checklist for Homeowners
Run through this routine each spring and fall. The spring check catches damage from winter's freeze-thaw cycles, and the fall check gets your chimney ready before the next round begins:
- Exterior scan: Use binoculars from the yard to look for missing mortar, a tilting cap, or lifted metal where the chimney meets the roof.
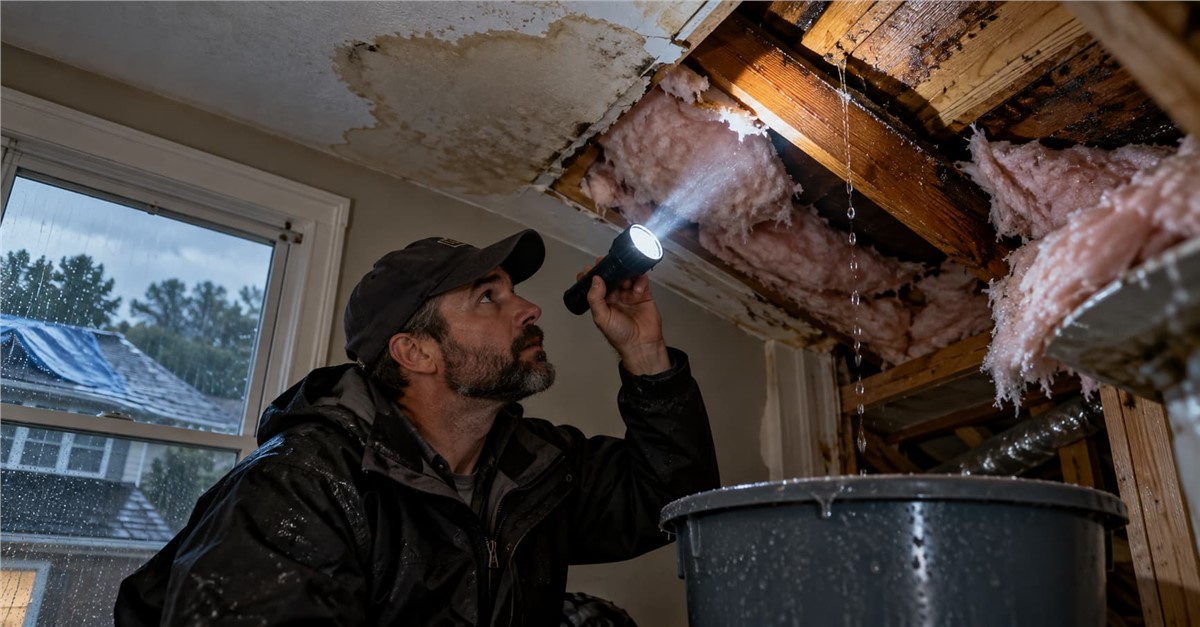
- Attic check: Head into the attic during or just after a heavy rain and inspect the framing around the chimney for darkened wood, damp insulation, or active drips.
- Firebox and flue look: Shine a flashlight into the firebox and up past the damper to spot rust, fallen debris, or flakes of clay tile from the liner.
- Gutters and valleys: Keep gutters and roof valleys near the chimney clear so water doesn't pool against the masonry.
- Tree clearance: Cut branches back at least 10 feet from the chimney to reduce leaf buildup, animal access, and abrasion on the brick.
- Professional sweep: Book an annual flue inspection and sweeping if you burn wood regularly.
About thirty minutes, twice a year, gives you an early warning while repairs are still small and inexpensive.
How to Vet a Chimney Repair Contractor
Begin with licensing. Virginia contractors are licensed through the Department of Professional and Occupational Regulation, Maryland home improvement work requires a Maryland Home Improvement Commission license, and D.C. contractors register with the Department of Licensing and Consumer Protection. Each agency has an online lookup tool, so check the license number yourself instead of taking it on faith. You should also ask for a certificate of liability insurance and proof of workers' compensation coverage.
For flue, liner, or creosote work, choose technicians certified by the Chimney Safety Institute of America. Exterior masonry and flashing jobs are better suited to a mason or roofer who can walk you through their process in plain language.
Next, ask pointed questions and listen to the answers. What type of mortar will they use to match your brick? Will the counterflashing be cut into a reglet, or just sealed to the brick face? Can they show you photos of the damage they found? A trustworthy contractor puts the scope of work, materials, and warranty terms in writing. If someone pressures you to sign that day, or recommends a full rebuild without showing proof, keep looking.
How NV Roofing Protects Your Chimney and Roofline
Your chimney is part of your roof. It passes straight through the decking and shingles, and the seam where brick meets roofing is where most leaks start. That's why so many chimney repairs end up being roofing jobs, and why it pays to hire a crew that knows how both sides of that joint are supposed to work.
Where Chimney Flashing Meets Roofing Expertise
Flashing only keeps water out when it's built into the roof around it. Step flashing has to be layered into each course of shingles, the cricket has to connect to the underlayment, and the whole assembly has to move water down toward the gutters instead of holding it against the chimney. When a roofer installs flashing as part of the roof system, all of those details get handled at once instead of being patched by separate trades who never talk to each other.
Our factory-certified crews work on shingle, metal, and specialty roofs every day, covering repairs, replacements, and new installations, and chimney flashing comes up on nearly every job. If your roof is close to the end of its life, replacing the flashing during the reroof spares you from cutting into brand-new shingles a few years from now. If we spot masonry problems that need a mason, like a crumbling crown or a partial rebuild, we'll say so directly and show you the photos.
The table below matches common trouble spots around the chimney with the signs homeowners usually notice and how we fix each one:
Chimney-Area Problems and How NV Roofing Handles Them
| ||
Problem | What You Might Notice | Our Approach |
Failed or caulk-only flashing | Ceiling stains beside the chimney after rain | Remove old metal, reinstall step and counterflashing tied into the roof |
Missing cricket | Debris and ponding on the uphill side of the stack | Build and shingle a cricket that diverts water around the chimney |
Damaged shingles around the chimney | Curling, missing, or granule-stripped shingles | Targeted roof repair or full replacement, backed by warranty |
Overflowing gutters below the chimney | Water spilling onto siding or the foundation | Seamless gutters and guards sized to handle the runoff |
Inspections, Storm Damage, and Insurance Support
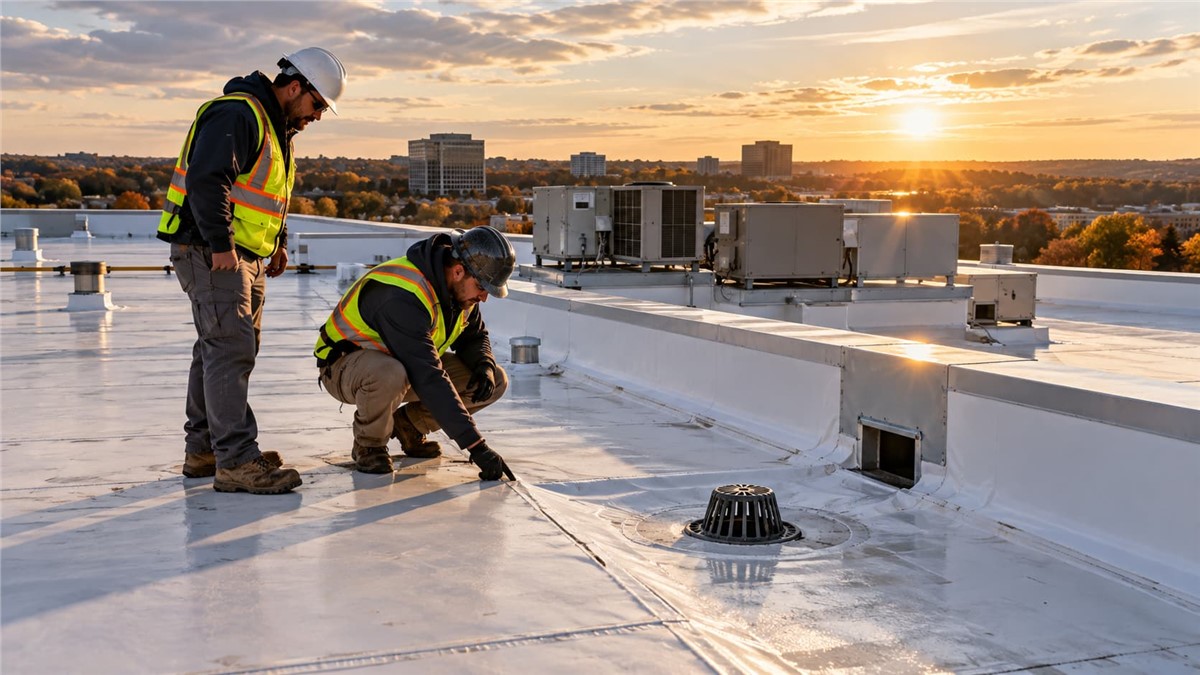
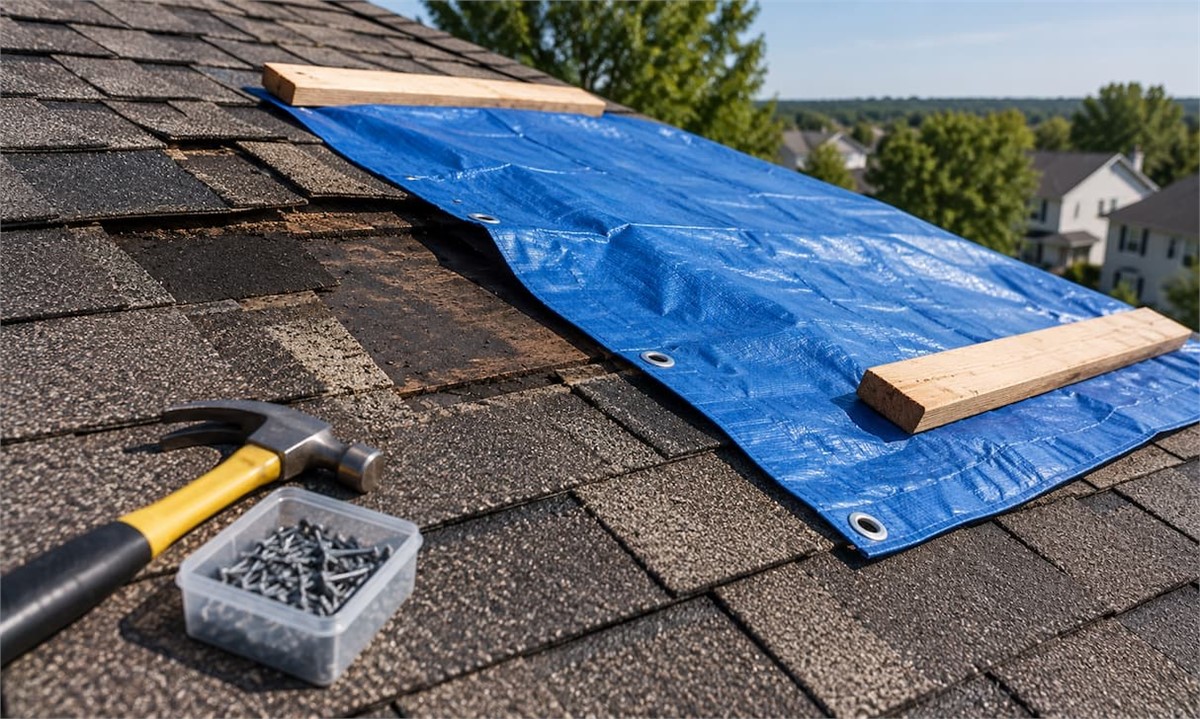
Storms across the DMV are rough on chimneys. Strong winds can lift flashing, loosen a cap, or drop a branch right onto the stack. After a storm, we offer fast inspections and emergency tarping to keep water out of your home while we plan the permanent repair.
The first 48 hours after a storm matter most. A tarp over damaged flashing costs little, while water soaking your attic insulation and drywall costs plenty. |
Filing an insurance claim can feel like taking on a second job. We photograph the damage, explain what we find in plain terms, and help you through the claim so you know what's covered before any work starts. Whether you're dealing with one leak or a roof, gutters, and siding all damaged in the same storm, one team handles the coordination from start to finish.
If you've noticed stains near your chimney or simply want a trained eye on your roofline, contact us to schedule an inspection.
Conclusion
Chimneys almost never give out in one go. Water works its way into a single weak spot, then finds the next one, and the bill climbs a little higher each season that nobody bothers to check. The good news is that the fixes are well known: mortar that matches the brick, flashing tucked properly into the roof (glue and caulk alone won't hold), a crown that sends water away from the stack, and a breathable repellent put on at the right time of year. Once you understand how each job ought to be done, you can size up a quote fairly and ask questions when something doesn't add up.
Set aside a dry afternoon this week, grab a pair of binoculars and a flashlight, and take your first walk around the house. Snap photos of anything that looks tired or cracked, note when leaks show up, and keep those notes somewhere you can find them. If what you see points to the roofline, call a roofer who will walk you through the evidence before suggesting chimney repairs, big or small.
FAQs
Why should you hire a professional company for chimney repairs?
Professionals have the fall protection, tools, and training to work safely on a steep roof, and they can identify hidden issues like failing liners or poorly installed flashing that are easy to miss from the ground. A licensed, insured contractor also puts the scope and warranty in writing, which protects you if a repair fails.
How can I tell if my chimney is damaged without going on the roof?
Look for flaking brick, white mineral stains, gaps in the mortar, or a cap that sits crooked, using binoculars from the yard. Inside, check for water marks on nearby ceilings, rust on the damper, or bits of tile collecting in the firebox.
What should I do if I find damage to my chimney?
Stop using the fireplace if you notice structural problems or debris from the flue, and protect any area where water is getting in. Then schedule an inspection promptly, since chimney repairs are usually simpler and cheaper when damage is addressed before another winter.
What kind of chimney repairs does a professional typically perform?
Common jobs include replacing worn mortar, installing new step and counterflashing, rebuilding or sealing the crown, and adding a stainless steel cap. For severe deterioration above the roofline, a contractor may recommend relaying the top section of brick.
What type of mortar or sealer is best for an older brick chimney?
Older homes with soft brick need a lime-based mortar that is softer than the surrounding masonry, so stress goes into the joints instead of the brick. For water protection, use a breathable silane or siloxane repellent rather than paint or film-forming sealers that trap moisture.
Subscribe to NV Roofing's Blog