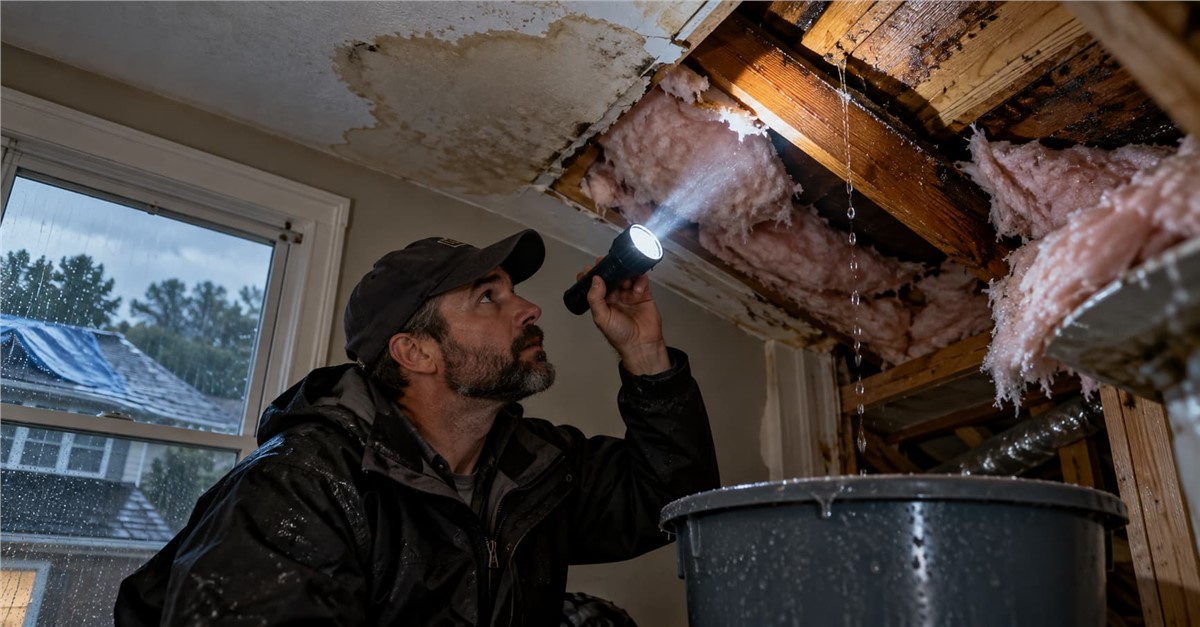
| Emergency roof leak repair starts indoors by cutting power to wet fixtures, draining sagging drywall, removing soaked insulation, and tracing the leak from the attic, since water often enters several feet from the ceiling stain, while tarping is safe only on low, single-story roofs in dry daylight. Matching the fix to the actual cause (damaged shingles, failed flashing, cracked pipe boots, clogged valleys, skylights, or ice dams) and photographing all damage before cleanup for your insurance claim turns a temporary patch into a lasting repair. |
Roof leaks don't wait for business hours. A summer thunderstorm rolls through Northern Virginia, or a late-winter thaw backs up your gutters, and suddenly water is dripping from the ceiling at 2 a.m. Every hour you wait makes it worse. Drywall soaks through, wet insulation stops working, and trapped moisture sets up mold and rotted decking. Here's the upside: what you do in the first 24 hours largely decides how big the final repair bill gets.
This guide breaks emergency roof leak repair into clear steps. You'll learn how to trace the leak from your attic, protect your belongings, and decide when tarping is safe. You'll also see which fix fits each leak type, when a DIY patch is enough, how to document damage for your insurance claim, and which warning signs mean you need a pro.
Emergency Roof Leak Repair: The First Steps to Take
The moment you spot water, your priority changes. You're no longer trying to fix the roof. You're trying to keep the damage from spreading. The roof can wait a few hours, but your ceiling, insulation, and floors can't. Good emergency roof leak repair starts inside the house, with a few quick moves that protect what's below.
How to Trace the Leak Source from the Attic
Water almost never comes in where it shows up indoors. It travels along framing, decking, and pipes before it drips. The Roofing Brief notes that a wet spot above a kitchen table can trace back ten feet up a rafter to a gap in the chimney flashing. Your best chance of finding the real entry point is to check the attic during the rain or right after it stops, with a bright flashlight in hand.
Follow these steps to track the water back to where it's getting in:
- Watch your footing: Step only on joists or on a board laid across them, because the drywall below won't hold your weight.
- Start at the stain: Go directly above the ceiling spot and look for darkened wood, damp insulation, or water trails.
- Follow the trail uphill: Track the moisture upslope along the rafters and decking until it stops.
- Check nearby penetrations: Inspect vent pipes, the chimney, and skylight curbs close to where the trail ends.
- Mark the spot: Use chalk to flag the entry point so a roofer can match it to the exterior.
If nothing jumps out at you, look for nail tips coated in frost or beaded with droplets. Then switch off your flashlight and scan for tiny pinpoints of daylight around penetrations. Those small gaps often explain a leak that seems to come from nowhere.
Indoor Mitigation to Limit Water Damage
Safety comes first, so shut off power to any circuit feeding a wet ceiling fixture. If the ceiling has a sagging bubble, poke a small hole at its lowest point with a screwdriver and set a bucket underneath. Letting the water drain on your terms is far better than waiting for the drywall to give way.
Once the water is contained, clear the area. Move electronics and furniture out, and roll up any rugs. Head back to the attic and pull out soaked insulation, since it holds moisture against the decking and keeps the wood wet long after the rain ends. Finally, run fans and a dehumidifier around the clock. The faster everything dries, the lower your risk of mold.
Temporary Tarping: When It's Safe and When It Isn't
| Can you fix a roof leak in the rain? Inside, yes. On the roof itself, no. Wet shingles are slick, and wind turns a tarp into a sail. |
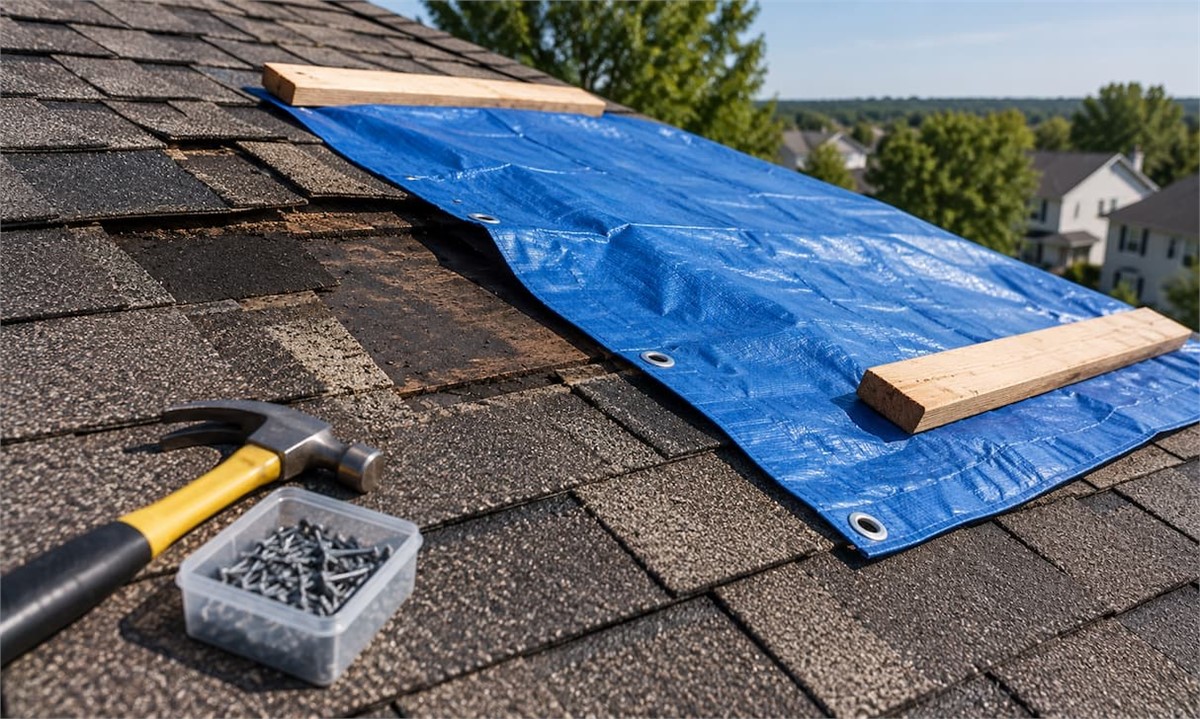
Tarping is only a reasonable DIY option on a single-story, low-pitch roof, in daylight, with no lightning around and dry footing underneath you. If those conditions line up, run the tarp over the ridge so water can't slip beneath it. Anchor it with wood strips along the edges rather than driving nails through the middle, which would just create new holes.
For a steep or two-story roof, call a professional. The same source points out that OSHA requires fall protection for work above six feet, and that rule exists for a reason. A few hours of buckets and fans is a much better trade than a fall.
Identify the Leak Type and Match It to the Right Repair
With the water contained, the next step is figuring out what actually failed. Roofs tend to leak at the same handful of weak points, and each one needs its own fix. Matching the repair to the real cause is what turns emergency roof leak repair into a permanent solution, so you aren't paying for the same patch again next season.
Damaged or Missing Shingles
Shingle damage is usually the easiest problem to spot. After a windstorm, check for bare patches, shingles in the yard, or tabs that look creased and lifted. A crease means the seal strip broke and the shingle bent backward, so it can leak even though it's still sitting in place. If your gutters are full of granules, your shingles are likely aging and losing their ability to shed water.
The proper repair involves removing the damaged shingle, renailing the course above it, sliding in a replacement, and resealing the tabs. A dab of roofing cement under a lifted tab can hold for a few weeks, but treat it as temporary. On older roofs, finding an exact match can be difficult because manufacturers discontinue product lines regularly. Keep that in mind before expecting the repair to blend in perfectly.
Failed Flashing Around Chimneys and Walls
Flashing is the metal that seals the joint where your roof meets a chimney, dormer, or sidewall. Step flashing tucks under each course of shingles, and counterflashing laps over it from above, often set into the chimney's mortar joints. Once the mortar crumbles or the metal corrodes, water runs right behind it. These leaks typically show up as ceiling stains near the chimney or along an upstairs wall.
A common question is which caulk works best for a roof leak. For metal and masonry, use a polyurethane or silicone sealant rated for roofing, such as Sikaflex or Geocel. Leave the acrylic latex caulk in the bathroom, because it cracks under heat and UV exposure. Most roofing sealants skin over within a few hours, but a full cure can take several days (longer in cold or damp weather), so read the label before rain is in the forecast.
| Sealant buys you time. A lasting fix restores the layered system of shingles, underlayment, and metal flashing that sheds water through overlap. |
A true flashing repair means pulling back the shingles, replacing the step pieces, and regrinding a reglet (a groove cut into the masonry) to seat new counterflashing.
Cracked Vent Pipe Boots
Every plumbing stack that comes through your roof is sealed with a rubber collar called a pipe boot. Years of sun dry that rubber out until it splits, and this often happens well before the surrounding shingles wear out. The telltale sign is a water stain directly below a bathroom or near a plumbing wall.
This is one of the simplest and least expensive repairs: replace the boot. A roofer lifts the shingles above the pipe, removes the old boot, slides the new one under the upper course, and nails the lower flange over the shingles below. Rubber retrofit collars that slip over the old boot can work as a stopgap, but a full replacement holds up much longer.
Valley Leaks
Valleys are the channels where two roof slopes meet, and they handle more water than any other part of your roof. Leaves and pine needles pile up there and form small dams that push water sideways under the shingles. Valleys also explain a frustrating pattern many homeowners notice: a roof that only leaks in heavy rain.
Several factors cause leaks that appear only during downpours:
- High water volume: Valleys and gutters get overwhelmed, so water rises past the shingle overlap it would normally flow over.
- Wind-driven rain: Strong gusts push water sideways and upward under flashing and shingle edges that stay dry in a light shower.
- Prolonged saturation: Small gaps around flashing or nails only let water through once the roof surface stays soaked for a long stretch.
A failed valley usually has to be torn out and rebuilt with ice and water shield underneath, finished with either a metal liner (an open valley) or properly woven or cut shingles (a closed valley).
Skylight Leaks
Start by ruling out condensation. If moisture appears on cold mornings and the glass fogs from the inside, you're probably dealing with indoor humidity rather than a roof leak. Real leaks show up during rain, usually as drips at the frame corners or stains on the drywall around the skylight opening.
Most skylight leaks come from the flashing, not the glass. The right repair is reflashing with the manufacturer's kit; VELUX, for example, sells flashing kits sized to fit its units. If the seal between the glass panes has failed or the frame is cracked, replacing the entire unit is often the better call, especially if the roof is being redone at the same time.
Ice Dams and Gutter Backups
DMV winters bounce above and below freezing, which creates perfect conditions for ice dams. Heat escaping from the attic melts snow on the upper roof, and that meltwater refreezes when it reaches the colder eaves. The resulting ridge of ice traps water behind it, forcing it back up under the shingles. Clogged gutters make things worse by holding ice right at the roof edge.
For immediate relief, use a roof rake to pull snow off the lower section of the roof, then lay calcium chloride inside a nylon stocking across the dam to melt a drainage channel. Never chip at the ice with a hammer or shovel, since you'll tear up the shingles. The long-term fix happens inside the attic and along the eaves: air sealing and insulating the attic, improving ventilation, and adding ice and water shield at the roof edge during your next repair or replacement.
DIY Fix or Professional Repair? Weighing Cost, Risk, and Insurance
You've tracked down the leak and have a good idea of what caused it. Next you need to decide whether to handle it yourself or call a roofer. That choice depends on three things: what a patch can realistically accomplish, what your insurance company expects from you, and what the rest of the roof says about its overall condition.
Temporary Patches vs. Permanent Repairs Compared
Can you just smear roofing tar over a leak? You can, and it might stop the drip for a while. Asphalt roof cement, though, hardens and cracks as it goes through summer heat and winter freeze-thaw cycles. It also covers up the actual failure point. When a roofer arrives for the real fix, they have to scrape that cement off before installing new materials, which adds labor to your bill. Treat a quick patch as one step in emergency roof leak repair, never the finish line.
The table below shows how a temporary patch compares with a permanent repair across the factors that matter most to homeowners:
Temporary Patch vs. Permanent Repair
| Factor | Temporary Patch | Permanent Repair |
| Typical lifespan | Weeks to a few months | Years, often matching the remaining roof life |
| Common materials | Tarps, roof cement, sealant, retrofit collars | New shingles, flashing, underlayment, pipe boots |
| Addresses root cause | Rarely | Yes |
| Safety risk | High for steep or two-story roofs | Handled by trained, equipped crews |
| Warranty | None | Workmanship and material coverage |
A patch works like a bandage. It keeps water out long enough for a qualified roofer to rebuild the failed layer the right way, with materials and workmanship that come with a warranty.
Documenting Damage for Homeowners Insurance Claims
Most homeowners policies cover sudden damage, such as a falling tree limb or shingles torn off in a windstorm. They usually exclude slow wear from age or neglect. Insurers also expect you to limit further damage once you know a problem exists. Solid records help you prove both points, so get them in order before anything is thrown away or repaired.
Work through these steps as soon as it's safe to do so:
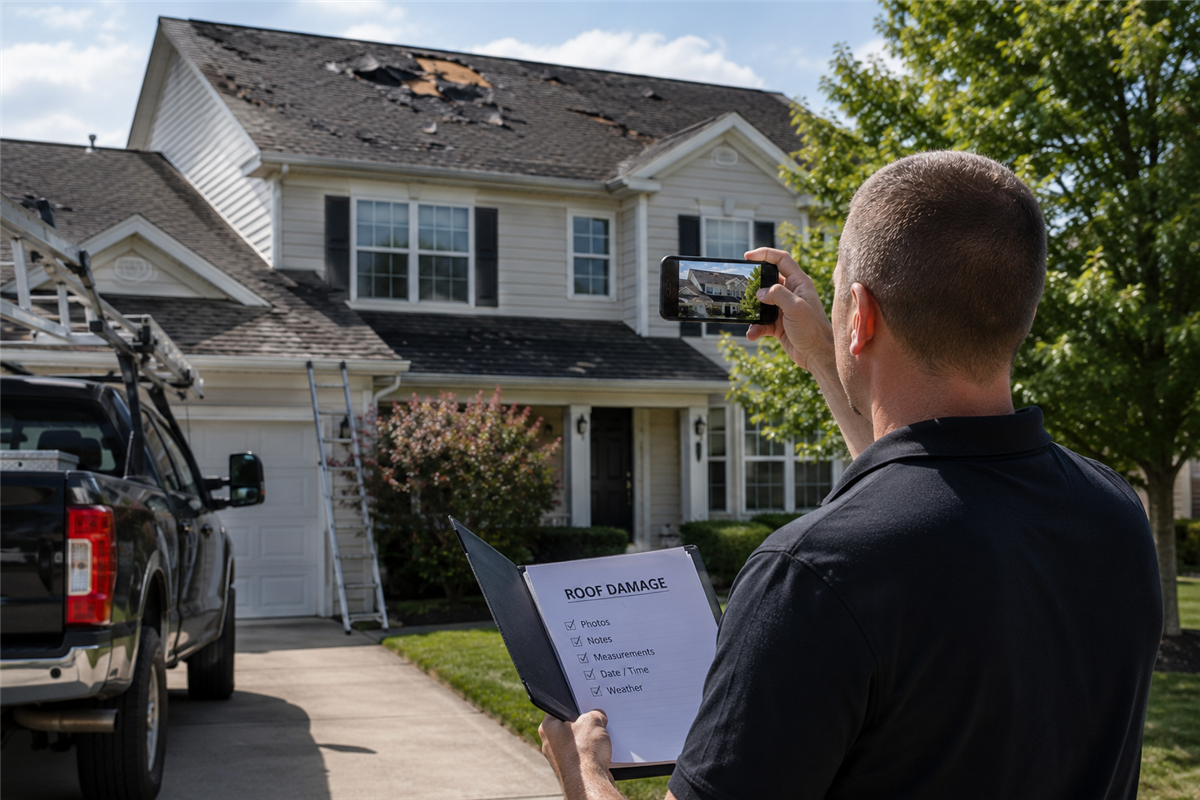
- Interior damage: Photograph and video every wet area, including ceilings, walls, flooring, and damaged belongings, with timestamps turned on.
- Exterior damage: Capture what you can see from the ground, such as missing shingles, fallen branches, and debris in the yard. Stay off the roof.
- Event details: Write down the date, time, and weather event that caused the leak while it's still fresh in your mind.
- Receipts: Save proof of purchase for tarps, fans, dehumidifiers, and any emergency service calls, since these costs are often reimbursable.
- Damaged materials: Hold on to soaked insulation, ruined items, and torn shingles until the adjuster inspects them or approves disposal.
- Claim number: Call your insurer promptly and get a claim number before any permanent repairs begin.
A clear paper trail makes the adjuster's job easier and leaves far less room for a lowball settlement.
| The best time to document damage is before you clean it up. Once the evidence is gone, you're arguing from memory. |
Red Flags That Mean Your Roof Needs More Than a Patch
Some leaks are one-off problems. Others are signs that the whole roof is wearing out. Take notice if stains are showing up in several rooms at once, or if the same spot keeps leaking after two or three patches.
In the attic, look for soft or sagging decking, dark rings around nails, and mold on the underside of the sheathing. All three point to moisture that has been getting in for a long time. Outside, shingles curling across entire slopes and gutters packed with granules suggest the roof is close to the end of its service life. At that point, paying for repair after repair often costs more than planning a replacement, and an honest roofer will tell you that up front.
Getting Lasting Protection with NV Roofing's Residential Services
Stopping the drip buys you time. Fixing the cause, and protecting the rest of your home's exterior, keeps the next storm from undoing that effort. Here's how NV Roofing handles that work for homeowners across Northern Virginia, Maryland, and D.C.
What to Expect from a Professional Emergency Roof Leak Repair Visit
Every emergency roof leak repair visit should start with diagnosis. Water often travels along rafters and decking before it shows up on your ceiling, so the stain you see indoors may sit several feet from the actual entry point. Our crew inspects both the attic and the roof surface and traces the interior water trail back to where it got in. That way, you aren't paying to patch the wrong spot. If weather or the extent of the damage rules out a permanent fix that day, we tarp the area properly to keep your home dry until the full repair is complete.
Next, you get a plain-language explanation of what failed and the options for fixing it. Our repairs cover shingles, flashing, pipe boots, and valleys, along with metal and specialty roofing systems. Factory-certified crews do the work, and strong warranties back it. After more than 60 years as a family-owned company, we've found that homeowners want two things: a dry house and a clear picture of what they're paying for.
| A repair you understand is a repair you can trust. Ask any roofer to show you the failure point before they fix it. |
Storm Damage Restoration and Insurance Claim Support
When hail, high wind, or a fallen limb causes the leak, the job usually grows beyond a single repair. Our storm damage restoration service combines fast inspections and emergency tarping with insurance claim support. We document what we find on the roof with photos and notes, then describe the damage in terms your adjuster will recognize. That record helps keep legitimate storm damage from being dismissed as normal wear and tear, so you have a stronger case when you file.
Protecting the Rest of Your Exterior: Gutters, Siding, and Windows
Water doesn't stop at the roof edge. Clogged or overflowing gutters feed ice dams, gaps along sidewalls let moisture slip behind siding, and worn window seals invite drafts and drips. The table below shows how each of our exterior services connects to leak prevention:
How NV Roofing's Exterior Services Reduce Water Damage Risk
| Service | Problem It Solves | Long-Term Benefit |
| Seamless Gutters and Guards | Clogs, overflow, and ice buildup at the eaves | Protects fascia, landscaping, and your foundation |
| Siding | Moisture getting behind worn or damaged cladding | Better durability and curb appeal with James Hardie fiber cement, vinyl, or wood alternatives |
| Replacement Windows | Failed seals, drafts, and water at the frame | Improved comfort, less outside noise, and lower energy bills |
Handling these services together means one team sees how your roof, walls, and openings work as a single system, so small weak points get caught before they turn into the next leak. Ready to stop the leak and protect the whole house? Contact us
Conclusion: Act Quickly, Repair Correctly, and Prevent the Next Leak
A leaking roof can feel like total chaos, but most leaks play out in a fairly predictable way. Start by getting the water under control inside the house. Then track down the spot where it's actually getting in, and pick a repair that matches the problem, whether you're dealing with a cracked pipe boot or a valley that's simply worn out. Tarps and sealant are useful for buying time until the proper repair happens, and that's about it. Also, snap photos before you clean anything up. An adjuster will usually put more stock in those pictures than in anything you tell them later.
Most of what makes emergency roof leak repair go well happens before the leak ever starts, so get familiar with your roof now instead of during the next storm. Sometime this week, grab a flashlight and head up into the attic to look for water stains or damp insulation. Clean out your gutters and valleys, and keep your policy number and your insurer's claims line somewhere easy to grab. If you see something that you can't safely deal with from the ground, schedule a professional inspection while you still get to pick the date, before the weather picks it for you.
FAQs
How do I find a roof leak when there is no visible damage on the ceiling?
Check your attic on a rainy day and look for damp insulation, darkened sheathing, or wet nail tips, then turn off your flashlight to spot daylight showing through gaps around vents and chimneys. If the source still isn't clear, a roofer can run a controlled water test on sections of the roof to pinpoint where water gets in.
Is emergency roof leak repair possible during a rainstorm?
Yes, but during the storm the work should stay indoors: catching drips, draining sagging drywall, and moving belongings out of harm's way. Rooftop fixes like tarping or patching should wait until the rain stops and surfaces are dry, unless a professional crew with fall protection can do it safely.
How long should roof sealant cure before it rains?
Most roofing sealants form a surface skin within a few hours, but a full cure typically takes several days and can stretch longer in cold or humid conditions. Check the product label for its rain-ready time and plan the application around a dry forecast.
Why does my roof only leak during heavy rain or strong wind?
Heavy downpours can overwhelm valleys and gutters so water rises above shingle overlaps, while wind pushes rain sideways under flashing and shingle edges. These leaks usually point to clogged valleys, worn flashing, or small gaps that only let water through once the roof is fully saturated.
How much does emergency roof leak repair cost for a small leak?
Simple fixes such as replacing a cracked pipe boot or a few shingles often run a few hundred dollars, while flashing or valley repairs typically cost more because they involve removing and rebuilding layers of the roof. After-hours emergency calls and tarping may add to the price, though storm-related costs are often reimbursable through homeowners insurance.
Subscribe to NV Roofing's Blog