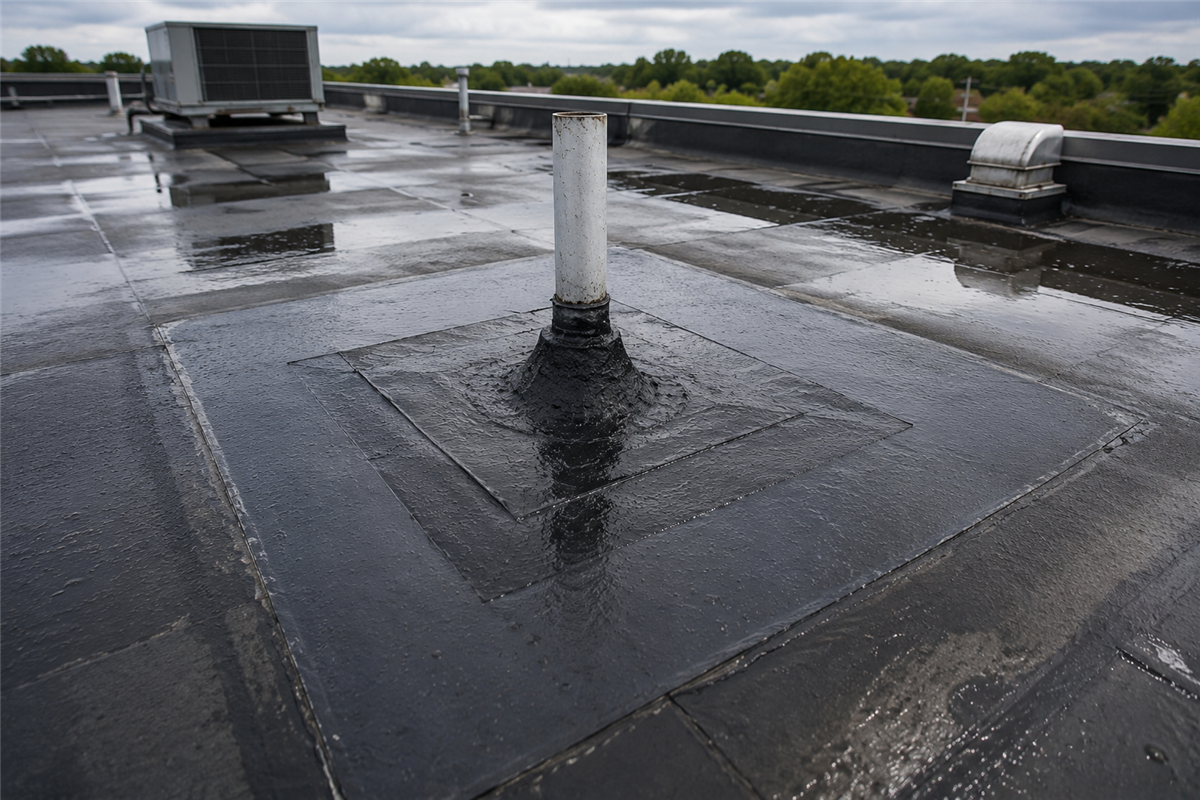
Flat roof leaks almost always start at seams, flashing, penetrations, and ponding areas rather than the open field, so effective flat roof leak repair means tracing water back to its true entry point, removing any saturated insulation, and matching the patch method to the membrane, whether that is primed uncured tape on EPDM, hot-air welding on TPO and PVC, or three-course cement and fabric on modified bitumen. When leaks are widespread, insulation is soaked, or the membrane has turned brittle, compare repair, coating restoration, and full replacement on cost per square foot per year instead of the cheapest invoice. |
Flat roof leaks never show up where they start. You get a stained ceiling tile on the third floor, a tenant complaint at 7 a.m., or a puddle in a stairwell after heavy rain, and the actual water entry point sits 20 feet away. That gap between symptom and source is why most flat roof leak repair attempts fail. A bucket of mastic on the wrong seam buys weeks, not years.
Here's what actually causes flat roofs to fail, how to trace a leak back to its true origin, and how to patch EPDM, TPO, PVC, and modified bitumen the right way. You'll also get a straight comparison of repair versus restoration versus replacement, plus the lifecycle math that helps you justify the call to an owner or board. No guesswork, just the process commercial roofers run every week.
Why Flat Roofs Leak in the First Place
Flat roofs aren't actually flat. A properly built low-slope assembly carries somewhere between 1/4 inch and 1/2 inch of pitch per foot, which is just enough to nudge water toward drains or scuppers before it has a chance to settle. Once that slope disappears (deck deflection, saturated insulation, or a rooftop unit dropped in without anyone recalculating drainage), the water stops moving. Water that stops moving always finds a seam, a fastener, or a tired flashing detail eventually. That's the moment flat roof leak repair stops being optional and starts being urgent.
Ponding Water and Failing Drainage
Ponding is the fastest way to shorten the life of a low-slope roof. Standing water piles on dead load the deck was never designed to carry, leaches plasticizers out of the membrane, and cycles through freeze and thaw all winter until seams start to separate. Clogged internal drains, crushed strainers, and undersized scuppers all produce the same outcome. Here's the field test: walk the roof 48 hours after a rain event. Anywhere you still see standing water is the exact area that will leak next, so mark it and put it on the maintenance list before the ceiling tiles tell you about it.
Water sitting on a roof two days after a storm isn't a drainage nuisance. It's a leak with a delayed start date. |
Seams, Flashing, and Penetration Failures
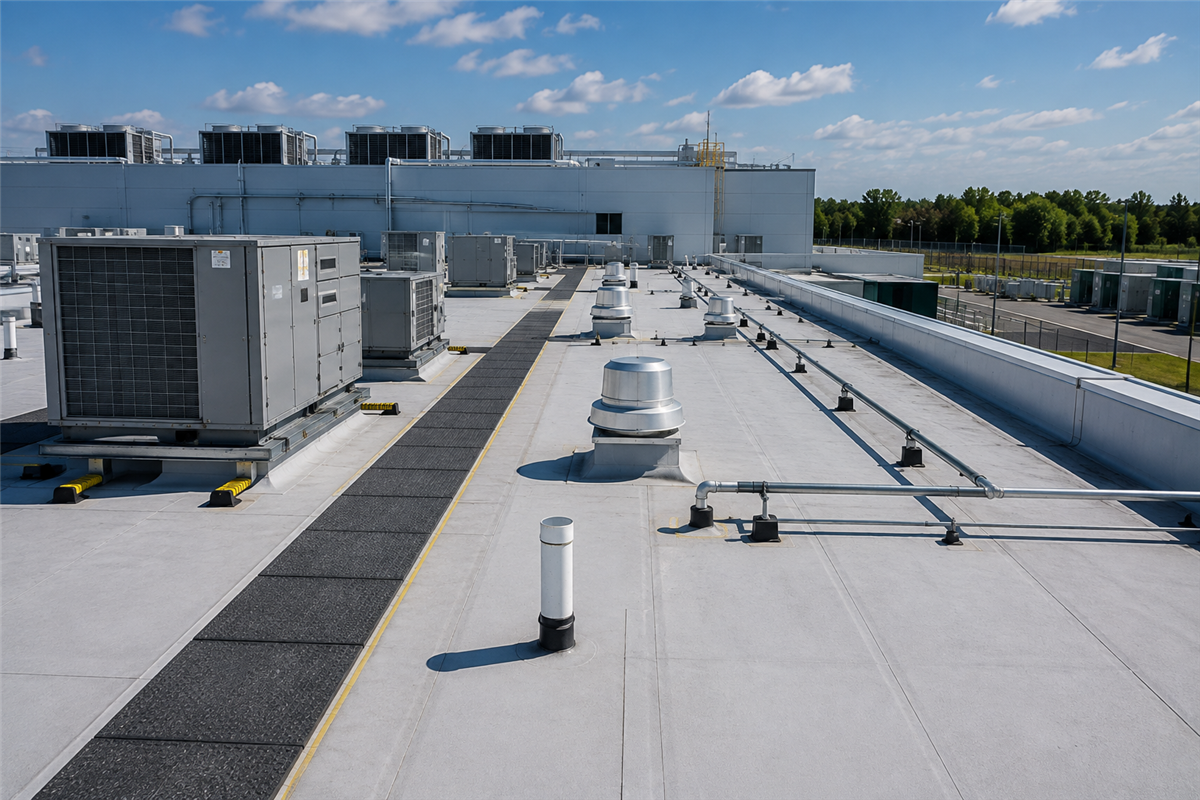
Field membrane almost never fails on its own. Leaks cluster at transitions, and that's where an experienced eye goes first: lap seams, base flashing at parapet walls, pipe boots, HVAC curbs, skylight perimeters, and drain clamping rings. On EPDM, aging seam tape and membrane shrinkage tug flashing right off vertical surfaces. On TPO and PVC, a cold weld from a rushed installation can sit quietly for years before it opens up. Then add service technicians walking the same path to the same rooftop unit every month, and you get punctures in the one area nobody thinks to inspect. Any credible repair starts at those details, not in the middle of the field.
Warning Signs You Shouldn't Ignore
Interior symptoms show up late in the process, so the goal is catching the roof-level clues first. Here are the three signals that tell you the assembly needs attention now rather than next budget cycle:
- Blisters, ridges, or soft spongy spots underfoot: moisture is already trapped in the insulation beneath the membrane, and it spreads laterally from there.
- Rust streaks at drain bowls, open seam edges, or exposed felt on modified bitumen: the assembly has moved past routine upkeep and into repair territory.
- Musty smells, peeling paint near columns, or stained ceiling grid in a tenant space: water has usually been traveling through the building for months by this point.
Handle these while they're still small line items. A pipe boot and a few feet of flashing cost a fraction of what a saturated insulation tear-off costs, and every one of these issues gets more expensive the longer it waits. NV Roofing sees the same pattern on nearly every emergency call: the roof gave plenty of warning, it just went unread.
Flat Roof Leak Repair: A Step-by-Step Walkthrough
Every solid repair follows the same order: get safe, find the real source, prep the surface, then match the patch to the membrane. Skip a step and you'll be back up there after the next storm. Below is the sequence commercial crews at NV Roofing use, including the small details that separate a five-year fix from a five-week one.
Step 1: Work Safely and Gather the Right Tools
Low-slope roofs feel deceptively safe until you're near an unguarded edge or a skylight buried under debris. OSHA's fall protection standard requires protection at six feet on construction work, and warning lines need to sit at least six feet back from the edge. Probe for soft or spongy decking before you commit your weight to it.
Before heading up, stage the materials you'll actually need so you're not making four trips up the ladder. Here's the short list that covers most repairs:
- Membrane-specific cleaner and primer: EPDM, TPO, and PVC each require their own chemistry, and cross-using them ruins adhesion.
- Hand tools: a silicone seam roller, utility knife with hook blades, stiff broom, and a seam probe for checking welds.
- Matching patch material: uncured EPDM flashing tape, TPO or PVC scrap from the same manufacturer, or a modified bitumen cap sheet.
- Polyurethane sealant: for penetrations and terminations, such as Geocel's professional grade line, which stays flexible through freeze and thaw cycles.
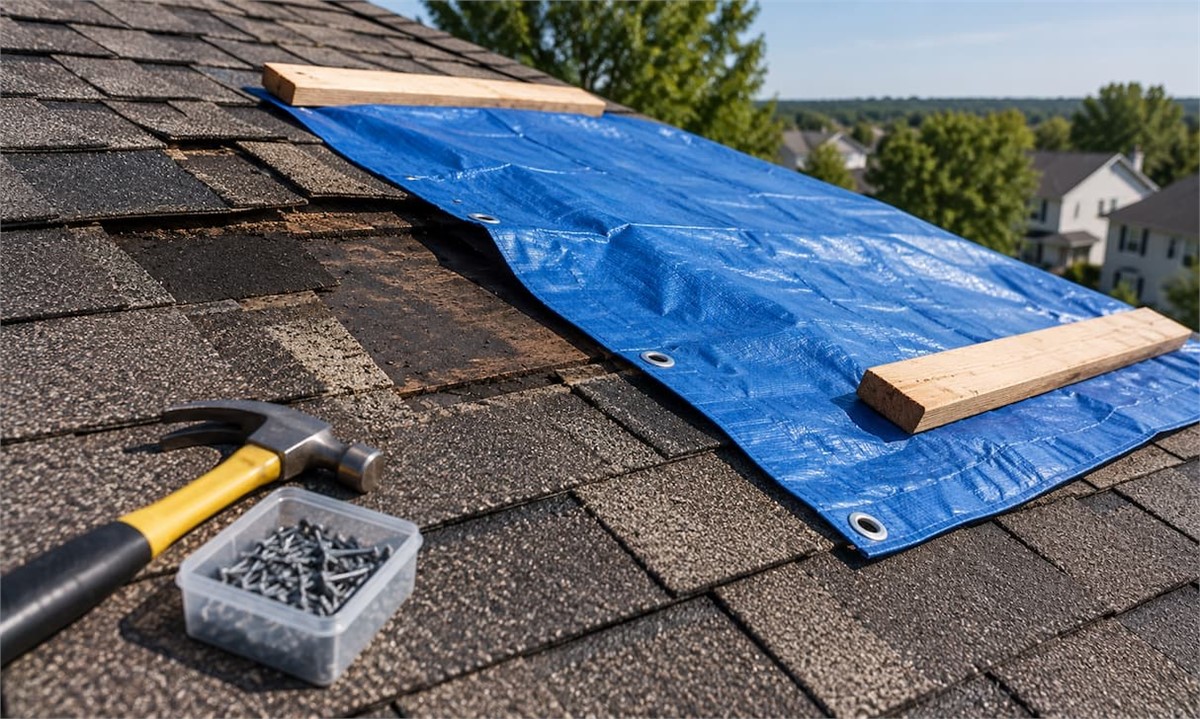
And no, don't attempt a permanent repair during heavy rain. Adhesives and welds need a dry, clean substrate to bond. If water is actively coming in, your job is emergency triage: a mechanically fastened tarp or a peel-and-stick patch over the suspected area to stop the bleeding, then a proper repair once the roof dries out.
Step 2: Trace the Leak Back to Its Source
Water follows the path of least resistance. On a metal deck, it runs along the flutes. On concrete, it wanders through insulation joints until it hits a fastener or seam and drops through. The stain below is a clue, not an address.
Start inside. Measure from a fixed landmark (a column line, a stairwell wall, an elevator shaft), then transfer those measurements to the roof surface. Inspect that zone plus a generous radius upslope. Look for open laps, punctures near mechanical units, cracked pitch pockets, and clogged drains.
How do you know the leak is even from the roof? Roof leaks track weather. If water shows up on sunny days, suspect HVAC condensate lines, a plumbing stack, or failed wall sealant instead. If it only appears with wind-driven rain from one direction, check parapet caps and wall flashing before blaming the field membrane.
For stubborn cases, infrared thermography scans at dusk reveal wet insulation holding heat, and capacitance moisture meters confirm the findings. Electronic leak detection, offered by firms like International Leak Detection, pinpoints breaches without flooding the roof.
Step 3: Clean and Prep the Damaged Area
Sweep the area, then scrub it with the correct cleaner. EPDM needs a splice wash and primer. TPO that has weathered for a few years needs a dedicated cleaner to strip the oxidized layer, or your weld simply won't hold. Wipe with clean rags and change them often, because a dirty rag just smears contaminants around.
Here's the step most people skip: if the insulation underneath is saturated, cut it out. Slice a square through the membrane, pull the wet board, replace it with matching insulation, and re-cover. Patching over soaked insulation traps moisture that keeps rotting the deck and destroys the R-value you're paying to heat and cool through.
The single biggest mistake in flat roof leak repair is sealing water in rather than out. A patch over wet insulation stops the drip and quietly accelerates deck corrosion underneath. |
Step 4: Patch EPDM Rubber Membranes
EPDM repairs live or die on primer coverage. Cut your patch so it extends at least three inches past the damage in every direction, and round the corners, because square corners peel first. Apply EPDM primer to both the roof and the patch, let it flash off until it's tacky rather than wet, then set the uncured flashing tape and roll it hard with a steel or silicone roller.
Roll from the center outward to push air bubbles toward the edge. Finish by running a bead of lap sealant around the entire perimeter of the patch. Manufacturers like Carlisle SynTec publish detail drawings for exactly this, and following them keeps warranty coverage intact on newer systems.
Step 5: Repair TPO and PVC Seams
Thermoplastic membranes get welded, not glued. A hot-air welder such as a Leister Triac or an automatic welder fuses the patch into the sheet, creating a bond stronger than the membrane itself. Run test welds on scrap first, since temperature and speed shift with ambient conditions and wind.
Aim for a continuous weld at least one and a half to two inches wide, then check it with a seam probe once it has cooled. The probe should slide along without catching or opening the edge. Cold-weld adhesives exist for touch-ups, but treat them as a stopgap. One caution on aging PVC: plasticizer loss makes older sheets brittle, and a weld may not take at all, which usually means the roof is closer to restoration than repair.
Step 6: Fix Modified Bitumen and Built-Up Roofs
For asphaltic systems, the three-course method is the workhorse. Trowel roofing cement over the defect, embed a layer of polyester reinforcing fabric into it, then cover with a second coat of cement so the fabric is fully encapsulated. Feather the edges so water sheds instead of pooling against a ridge.
For larger breaches, cut a rectangular patch from matching cap sheet and either torch it in or set it with cold-process adhesive. Torch work demands a fire watch that stays on the roof for at least an hour afterward, which is why many owners specify cold adhesive on occupied buildings.
Step 7: Reseal Flashing, Curbs, and Drains
Most leaks show up at transitions rather than in open field membrane. Pull failed sealant out of termination bars completely instead of caulking over it, then reload the joint with fresh polyurethane. Pitch pockets need to be dug out and refilled with two-part pourable sealer, and they deserve an annual look since they're a known weak point.
At drains, loosen the clamping ring, clean the flange, and reseat the membrane on fresh sealant with the ring torqued evenly. Rusted or cracked drain bowls take a retrofit insert. Curbs around rooftop units earn the same scrutiny, because condensate and vibration work sealant loose faster than sunlight does.
Step 8: Test the Repair and Document It
Don't wait for the next storm to grade your work. Run a garden hose over the repair for 15 to 20 minutes while someone watches the interior. On a contained area with functioning overflow scuppers, a short flood test gives even better confirmation, though the deck must be rated for the added load.
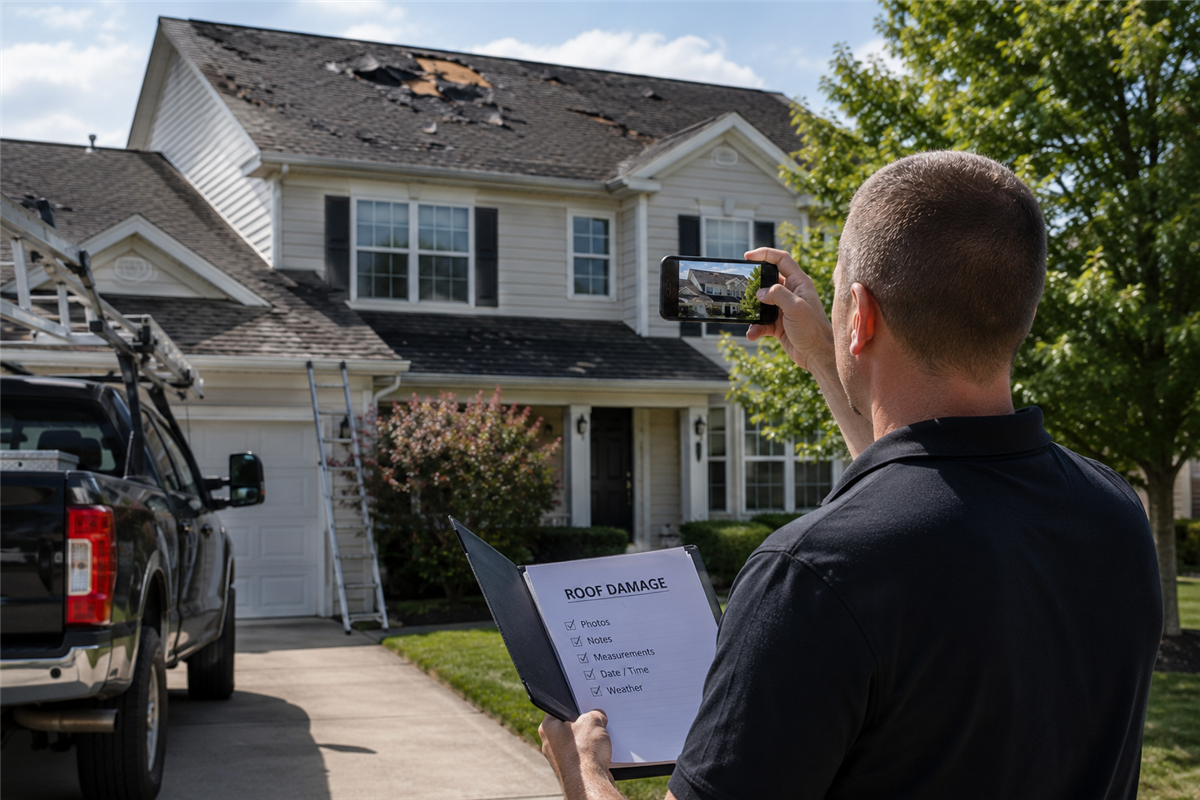
Then document everything. Photograph the repair before, during, and after, note the date, membrane type, and materials used, and drop it into the building's roof file. Over a few years, that log tells you whether you're managing a healthy roof with occasional issues or paying repeatedly to delay a replacement that's already overdue.
Repair, Restore, or Replace: Making the Call
Once the water stops coming in, the harder question shows up: how much more money should this roof get? Owners tend to sign off on whatever invoice is cheapest that week, which is exactly how a roof ends up wearing 40 patches and losing years off its life. A better habit is comparing cost per year of service instead of cost per visit.
When a Flat Roof Leak Repair Is Enough
Spot repair earns its keep when the damage is isolated and the assembly underneath is still healthy. Picture three or four defined breaches, dry insulation confirmed with core cuts or a moisture scan, membrane that still has thickness and flexibility, and a roof sitting comfortably inside its expected service life. If your building has one trouble spot near a rooftop unit and 30,000 dry square feet everywhere else, a targeted flat roof leak repair is the responsible answer.
Repair stops making sense when leaks come from everywhere at once. Widespread seam separation, brittle membrane that cracks when you fold it, and moisture readings scattered across multiple zones all point past patching, and no amount of sealant changes that math.
Where Coatings and Restoration Fit In
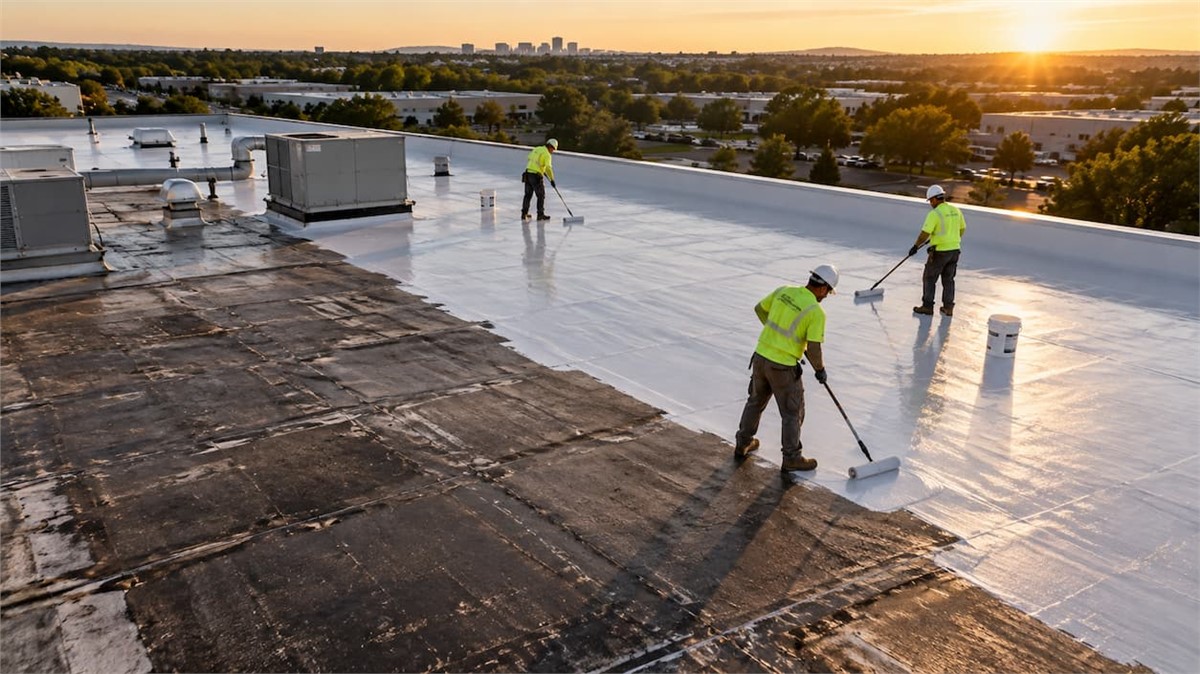
Restoration sits in the middle: repair the details, replace wet insulation, then apply a fluid-applied silicone or acrylic system across the whole field to create a fresh watertight surface. Manufacturers like GAF back qualifying coating systems with renewable warranties, and reflective coatings lower rooftop surface temperatures, which eases the daily expansion and contraction that wears an aging membrane down.
The catch is eligibility. Most coating manufacturers cap allowable wet insulation at roughly a quarter of the roof area, and the substrate has to be sound, clean, and dry when the product goes down. Coating a saturated roof just puts a nice white lid on a wet sandwich.
Restoration buys years on a roof that still has bones. It cannot resurrect one that has already lost them. |
Repair vs. Restoration vs. Replacement at a Glance
Here is a side-by-side look at what each option typically costs, how much service life it adds, and the roof conditions it suits best:
Option | Relative Cost Added | Service Life | Best Fit |
Spot repair | Lowest | 2 to 7 years, localized | Isolated breaches, dry insulation, membrane with life left |
Restoration or coating | Moderate | 10 to 20 years with warranty | Weathered but structurally sound roofs, limited wet areas |
Full replacement | Highest | 20 to 30 years | Saturated insulation, chronic leaks, deck or code issues |
Cost Comparison and Lifecycle Math
Run the numbers the same way every time so the decision holds up in front of an owner or a board. These six steps turn a gut call into a documented recommendation:
- Total your repair history: pull the roof file and add up the last three years of spending, including after-hours calls and interior repairs.
- Quantify the wet area: order a moisture survey (infrared, nuclear, or core cuts) to learn what percentage of the insulation is saturated.
- Calculate annual cost: divide each option's price by the years of service it realistically delivers to get a cost per square foot per year.
- Add the soft costs: tenant complaints, damaged inventory, lost rent, and crane or crew access fees all belong in the comparison.
- Check code limits: most jurisdictions permit only two roof layers before a full tear-off becomes mandatory.
- Fund the winner: slot the chosen option into your capital plan with a specific year attached, not a vague “someday.”
Work through that once and the choice usually makes itself, and you walk away with a paper trail that justifies every dollar of the spend.
Is Your Commercial Roof a Managed Asset or a Future Emergency?
NV Roofing's complimentary inspection gives you a full condition report, capital risk assessment, and remaining service life estimate. A $2,400 value at no cost.
Claim My Free Inspection →
How NV Roofing Handles Commercial Flat Roofs
Knowing the repair process is one thing. Having the crew, the materials, and the schedule to pull it off on a building full of working tenants is something else entirely. NV Roofing has been on low-slope assemblies across Northern Virginia, Maryland, and Washington, D.C. since 1963, long enough to watch DMV freeze-thaw cycles and August thunderstorms take apart membranes that looked perfectly sound the previous spring. Our commercial work is built around that pattern, not around ideal conditions.
Rapid Response for Active Leaks and Storm Damage
When water is running through a ceiling grid in a leased suite, the clock matters more than the estimate. Our emergency response teams stabilize the roof first with temporary patching, drain clearing, and tarping, then come back for the permanent flat roof leak repair once the assembly has dried out. That two-stage approach keeps tenants at their desks and hands you dated photographs and written documentation for an insurance claim while the damage is still fresh and easy to attribute to the storm.
Downtime costs more than the roof work. A tenant relocated for three days is a bigger line item than the membrane repair that prevented it. |
Roofing, Gutters, and Drainage Built for Commercial Loads
A membrane repair fails a second time if the water never actually leaves the roof. We size gutters, downspouts, scuppers, and internal drainage for commercial roof areas instead of scaling up residential parts and hoping they keep pace. That work covers installation, restoration, and coatings on office buildings, apartment complexes, retail centers, and industrial facilities. Siding and window work runs through the same division, so wall flashing and roof terminations get coordinated by one team rather than becoming a finger-pointing exercise between two trades.
NV Priority Plus: Turning Repairs Into a Maintenance Plan
Reactive repairs cost more per square foot and leave you with no record of the roof's condition. NV Priority Plus replaces that cycle with scheduled inspections, documented findings, minor repairs handled before they spread, and priority scheduling when weather rolls through the region. The table below compares how each approach plays out over a typical service year, from what triggers the work to what it does to the roof's remaining life.
Reactive Repairs vs. NV Priority Plus
Factor | Reactive Repairs | NV Priority Plus |
Trigger | Tenant complaint or visible interior damage | Scheduled inspection, typically spring and fall |
Scope of Work | Membrane plus wet insulation, deck, and interior finishes | Seams, flashing, and drains addressed before water enters |
Scheduling | Wait times spike after regional storms | Priority placement in the crew queue |
Budgeting | Unplanned draws on operating funds | Predictable annual cost with capital planning data |
Roof Life | Shortened by repeated saturation | Extended, with warranty conditions maintained |
If you're managing a portfolio and you're tired of surprise line items showing up mid-quarter, contact us for a roof assessment and a plan you can hand straight to ownership.
Protect the Building Above Everything Else
A flat roof gives you warning before it quits. Water still sitting there two days after the rain stops. A lap edge curling up where it meets a curb. A drain ring that has gone loose in its seat. Catching those signs while they are still small is the difference between a $900 flat roof leak repair and a $90,000 tear-off. Membrane type sets the method, the moisture survey sets the strategy, and your documentation decides whether ownership signs off on the money.
So walk it. Pull the roof file, mark where the water pools, photograph every transition, and get a moisture scan on any system older than 15 years. If what you find has moved past patching, price restoration and full replacement next to each other using cost per square foot per year instead of the sticker number. Then hand that to the people who approve budgets, with dates and photos attached. That is how roofing work gets funded before falling ceiling tiles make the argument for you.
FAQs
How long does a flat roof leak repair typically last?
A properly executed repair on a sound membrane usually holds for two to seven years, depending on the membrane's remaining flexibility and how much traffic the area sees. Repairs made over wet insulation or brittle, oxidized sheeting often fail within a season.
Can flat roof repairs be done in cold weather?
Yes, but adhesives, primers, and tapes have minimum application temperatures, and hot-air welds on TPO or PVC need slower speeds and higher heat settings to bond properly. Cold-weather work also demands a fully dry, frost-free surface, which is often the harder condition to meet in winter.
How can I tell whether the water is coming from the roof or somewhere else?
Roof leaks follow weather patterns, so if the drip appears on clear days, look at HVAC condensate lines, plumbing stacks, or interior sprinkler piping first. Leaks that only show up during wind-driven rain from one direction usually trace back to parapet caps, wall flashing, or window sealant rather than the field membrane.
What is the most common mistake made during flat roof leak repair?
Sealing moisture in instead of out is the top failure, because a patch applied over saturated insulation stops the visible drip while corrosion continues on the deck below. The second most common error is skipping membrane-specific cleaner and primer, which leaves the patch with no real adhesion.
Is it worth patching a flat roof during heavy rain?
Only as emergency triage, using a mechanically fastened tarp or peel-and-stick patch to stop active water intrusion until conditions dry out. Permanent bonds require a clean, dry substrate, so anything installed in standing water should be treated as temporary and revisited.
Subscribe to NV Roofing's Blog