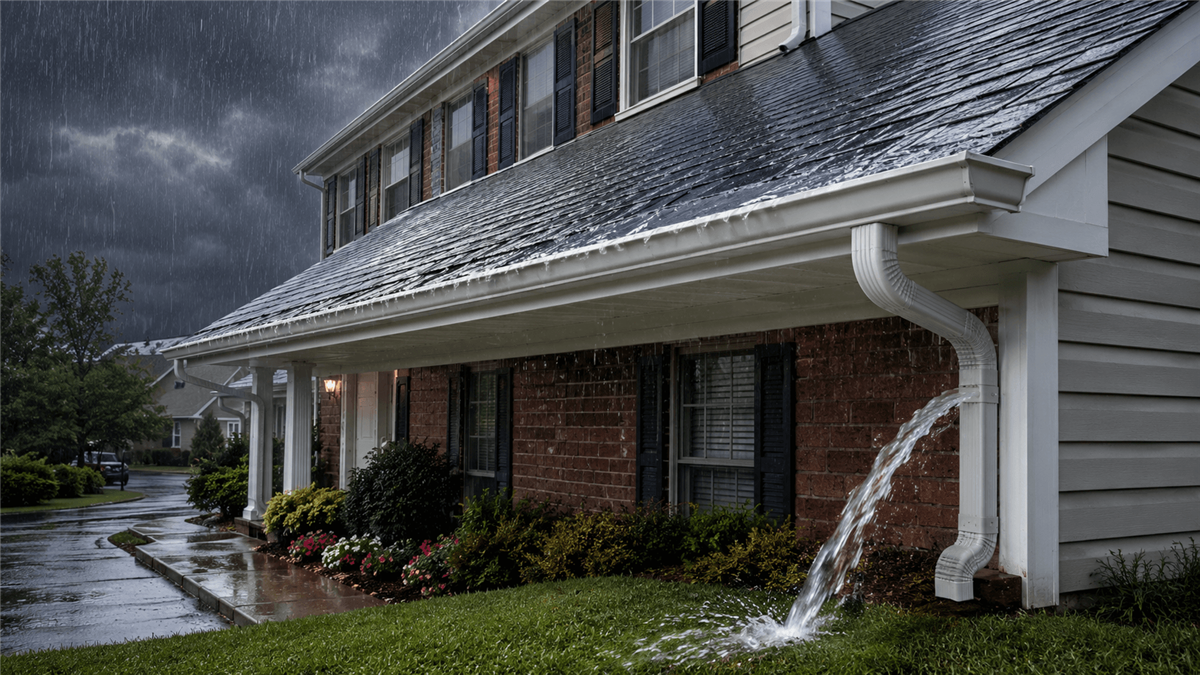
Do metal roofs leak? Yes, they can-but not for the reasons you might think. Metal roofs rank among the most reliable roofing materials, yet they're not immune to water infiltration. Most leaks happen at connection points: flashing around chimneys, loose fasteners, and poorly sealed seams.
The key lies in knowing where to look and what signs to watch for. Water stains on ceilings, rust spots on metal panels, or dampness in your attic signal potential problems. Early detection prevents minor issues from becoming expensive repairs. This guide shows you exactly how to inspect your metal roof systematically, identify problem areas before they worsen, and determine whether you need professional help or can handle the fix yourself.
Understanding Metal Roof Leak Potential
Metal roofs offer excellent protection, but they're not completely immune to water infiltration. While they significantly outperform many other roofing materials, understanding what makes them vulnerable helps you make informed decisions about installation and maintenance.
Why Metal Roofs May Develop Leaks
The metal panels themselves rarely cause leaks. Instead, problems typically emerge at connection points and areas where different materials meet. Temperature changes throughout the day and across seasons cause metal to expand and contract, which gradually loosens fasteners and creates gaps where water can enter.
Poor installation practices create the biggest risk for future leaks. When contractors rush through critical details or cut corners on flashing around chimneys, vents, and skylights, they're setting up problems that may not appear for months or years. Fasteners placed incorrectly, insufficient sealant coverage, or panels that don't overlap properly all become weak spots where water finds its way through.
| Most metal roof leaks occur at connection points and penetrations, not through the metal panels themselves. |
Common Misconceptions About Metal Roof Durability
Some homeowners expect metal roofs to create an impenetrable barrier because they picture them as solid metal sheets. Reality is more complex-every roofing system requires seams, joints, and penetrations for vents, chimneys, and other roof features. These necessary connection points require careful attention during installation to prevent water entry.
Cost doesn't automatically equal quality when it comes to leak prevention. A high-end metal roofing system installed carelessly will fail faster than a moderately priced system installed with attention to detail. The skill and care during installation matters more than the price tag on your materials.
Metal Roofs vs. Traditional Shingles: Leak Comparison
Metal roofs experience fewer leaks over their lifetime compared to asphalt shingles, but they fail in different ways. Shingle deterioration happens gradually-you'll notice granules washing into gutters, edges curling up, or small cracks developing. These visible signs give you time to plan repairs or replacement.
Metal roofs keep their strength and appearance much longer, but when problems develop, they often appear suddenly when a fastener works loose or sealant finally gives way. Proper installation and maintenance significantly extend metal roof performance. Shingle roofs require replacement every 15-25 years, while quality metal systems can last 40-70 years with appropriate care. However, both systems need regular inspection to catch problems early.
How to Find a Leak in a Metal Roof: Key Areas to Inspect
Finding the exact source of a leaking metal roof requires systematic inspection of specific vulnerable areas. Water often travels along panels or structural elements before appearing inside your home, making the leak location different from where you see water damage. Focus your inspection on these four critical zones where most metal roof leaks originate.
Roof Penetrations and Flashing Points
Chimneys, vents, skylights, and satellite dish mounts create the most common leak points on metal roofs. These penetrations require careful flashing installation to seal the gap between different materials. Look for cracked caulk around the base of penetrations, loose or missing flashing pieces, and rust stains that indicate water has been present.
Check the step flashing along chimneys where each piece should overlap the next and tuck under the roofing material. Vent boots often crack from UV exposure and temperature changes, creating gaps where water enters. Skylights need attention at all four corners and along their entire perimeter where flashing meets the metal panels.
| Penetrations account for approximately 90% of metal roof leaks, making them your primary inspection focus. |
Panel Seams and Fastener Locations
Standing seam metal roofs rely on mechanical connections between panels, while screw-down systems use exposed fasteners. Both create potential entry points for water when installation or maintenance falls short. Examine seam connections for gaps, especially where panels meet at angles or direction changes.
Exposed fasteners deserve close attention since they penetrate the waterproof barrier. Look for loose screws, missing washers, or washers that have compressed and cracked over time. Fasteners placed in panel valleys rather than ridges allow water to pool and eventually find its way through.
Transition Areas and Ridge Lines
Roof transitions where different planes meet create complex sealing challenges. Hip and valley areas, dormers, and roof-to-wall connections require special attention during inspection. These locations experience more water flow and often have multiple layers of flashing that must work together perfectly.
Ridge caps protect the highest point of your roof where panels from both sides meet. Wind can work these caps loose over time, and expansion joints may develop gaps. Ice dams in colder climates put extra pressure on ridge connections, potentially forcing water under the caps.
Gutters and Drainage Components
Gutters and downspouts don't typically cause leaks directly, but drainage problems create conditions that lead to water infiltration. Clogged gutters cause water to back up under roof edges, and improper gutter installation can direct water toward vulnerable areas rather than away from them.
Metal Roof Inspection Priority Areas
The following table breaks down the most critical areas to inspect on your metal roof, organized by their risk level and recommended inspection frequency. Understanding these priorities helps you allocate your maintenance efforts effectively and catch problems before they become expensive repairs.
Area | Leak Risk Level | What to Look For | Inspection Frequency |
|---|---|---|---|
| Roof Penetrations | Very High | Cracked flashing, loose caulk, rust stains | Every 6 months |
| Panel Seams | Medium | Gaps between panels, loose connections | Annually |
| Fastener Points | High | Loose screws, damaged washers | Every 6 months |
| Ridge Lines | Medium | Loose caps, expansion gaps | Annually |
| Gutters | Low | Clogs, improper drainage, water backup | Seasonally |
Examine downspout connections and end caps for gaps or damage. Checking your attic during inspection helps identify water entry points from below, where you can spot water stains or dampness that indicate drainage problems affecting your roof system.
Step-by-Step Metal Roof Leak Detection Process
Finding leaks in your metal roof doesn't have to be a guessing game. The key is following a logical sequence that starts inside your home, moves to the exterior, and then uses targeted testing to confirm your findings. This methodical approach saves you time and prevents you from overlooking those sneaky leaks that can cause serious damage if left unchecked.
Interior Inspection Techniques
Your leak detective work begins inside, preferably during daylight hours when you can see clearly. Head up to your attic or crawl space with a good flashlight to illuminate dark corners and crevices. Watch for telltale signs like water stains on wooden rafters, soggy insulation, or active dripping during rainstorms. Fresh water damage shows up as dark patches on wood, while older leaks leave behind lighter brown or grayish stains.
Work your way across the underside of your roof decking in a systematic pattern from one end to the other. Here's something important to remember: water has a mind of its own and often travels along beams and structural members before finally dripping down. That wet spot you're seeing might be several feet away from where water is actually getting in. Mark any questionable areas with chalk or tape so you can match them up with what you find outside later.
Exterior Visual Assessment Methods
Pick a clear, dry day for your exterior inspection when you can either safely access your roof or get a good view using binoculars from ground level. Start by walking around your home's perimeter to catch obvious problems like missing panels, loose flashing, or damaged gutters that could be funneling water into problem areas.
Here's your systematic approach for examining your roof thoroughly:
Document problem areas: Take photos of anything suspicious so you can reference them later and share them with contractors if needed.
Check fastener lines: Look for loose, missing, or crooked screws, especially where panels change direction or meet other materials.
Examine sealant condition: Press gently on caulk around penetrations - it should feel firm and show no cracks or gaps.
Test flashing stability: Carefully check if flashing pieces move when touched lightly, indicating loose attachment.
Assess panel alignment: Look for panels that don't lie flat or have separated from their neighbors at seam connections.
This thorough exterior assessment helps you identify the most likely culprits before you move on to more hands-on testing methods.
| Most successful leak detection combines interior evidence with exterior assessment to narrow down problem areas before testing specific locations. |
Water Testing for Precise Leak Location
After you've identified suspicious areas, water testing helps you zero in on the exact source of your leak. Start at the lowest suspected trouble spot and work your way up, testing just one area at a time. Have someone stationed inside the house to watch for drips while you apply water to specific spots on the roof.
Use a garden hose with a spray nozzle so you can control both water flow and pressure. Start with gentle water application, then gradually increase the intensity to mimic different types of rain conditions. Focus on one suspected area for several minutes before moving to the next location - some leaks need time to work their way through the roof structure and become visible inside.
When to Call Professional Inspectors
Sometimes you need to call in the experts who have the right tools and experience for the job. Reach out to professional contractors when your roof is too steep or high for safe access, when you've found clear evidence of leaks but can't track down the source, or when multiple areas show water damage suggesting complex underlying problems.
Professional inspectors bring thermal imaging cameras, moisture meters, and specialized water testing equipment that can uncover problems you'd never spot with standard inspection methods. Professional assessment becomes essential when dealing with complex roof structures or when safety concerns make DIY inspection impractical.
Professional Metal Roof Solutions and Prevention
When your DIY leak detection uncovers problems that feel overwhelming or beyond your skill set, bringing in professional contractors makes all the difference. These specialists arrive with advanced tools and years of hands-on experience, ready to handle the complex issues that cause metal roofs to leak. The expertise they provide separates quick fixes from genuine, long-lasting solutions that safeguard your home for decades.
Expert Leak Repair Techniques
Professional roofers approach repairs by targeting the underlying cause instead of simply masking the symptoms. When dealing with penetration leaks, experienced contractors completely strip away deteriorated flashing and install fresh step flashing using proper overlap patterns and commercial-grade sealants specifically engineered for metal roof movement. Their knowledge extends to selecting the right fasteners for your particular panel style and positioning them strategically to prevent loosening over time.
Seam repairs demand specialized equipment that most homeowners simply don't own. Professional contractors can re-crimp standing seam connections with precision, replace damaged panel sections seamlessly, and apply structural sealants that remain flexible through countless freeze-thaw cycles. These experts also identify underlying structural problems - insufficient slope, compromised decking, or inadequate support - that contribute to leak issues and must be resolved before any surface repair will provide lasting protection.
Preventive Maintenance Programs
Most metal roof leaks can be prevented entirely through consistent maintenance performed by trained professionals. These maintenance programs usually feature twice-yearly inspections designed to identify minor issues while they remain simple and budget-friendly to address. During these visits, contractors systematically check and retighten fasteners loosened by thermal expansion, swap out worn washers and gaskets, and refresh sealant applications around all roof penetrations.
| Professional maintenance programs catch problems during their early stages when repairs cost hundreds rather than thousands of dollars. |
These programs extend beyond roof surface inspections to include thorough gutter cleaning and drainage system maintenance, preventing the water backup problems that can cause significant damage. Many contractors provide detailed documentation with photographs and written reports, building a maintenance record that proves invaluable for warranty claims and future repair planning.
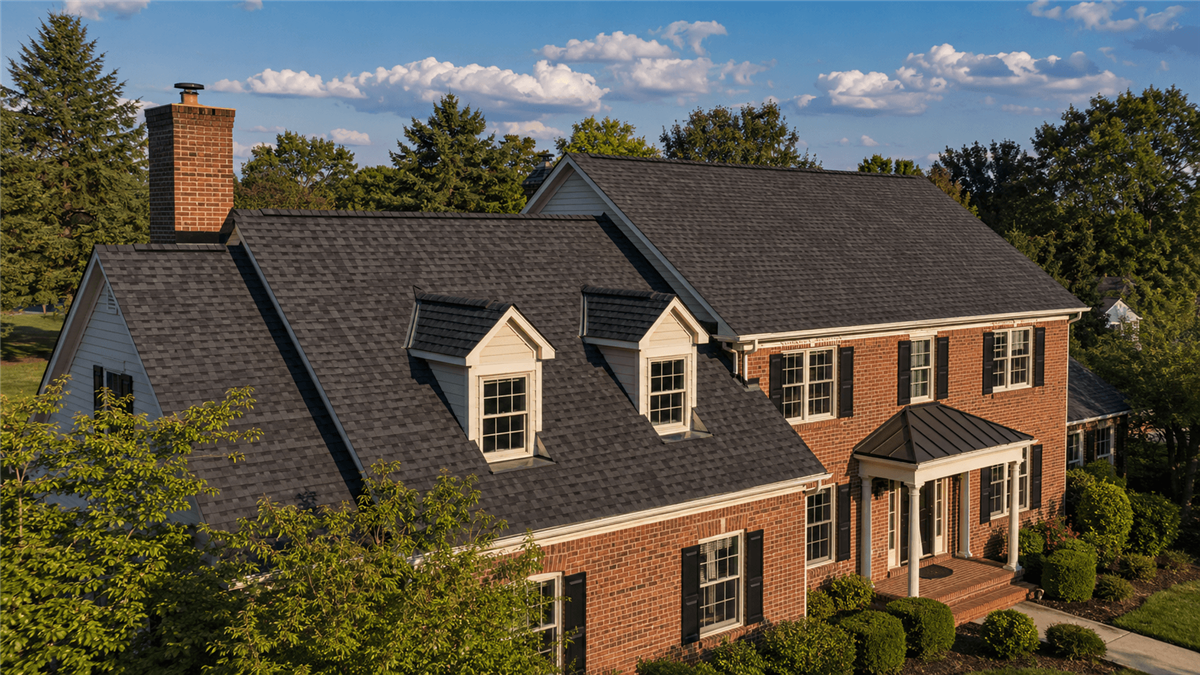
Quality Installation Standards
Effective leak prevention begins with proper installation that strictly follows manufacturer guidelines and established industry standards. Skilled contractors understand thermal movement calculations and install expansion joints at appropriate locations. They select compatible materials that prevent galvanic corrosion and apply sealants in the correct sequence to achieve maximum adhesion and durability.
Professional vs DIY Repair Comparison
Understanding when to tackle repairs yourself versus calling professionals can save you time, money, and frustration. This comparison breaks down different repair types and shows where each approach works best:
Repair Type | DIY Capability | Professional Advantage | Cost Difference |
|---|---|---|---|
| Simple Caulking | Good | Better material selection | 3-5x higher |
| Flashing Replacement | Limited | Proper installation sequence | 4-6x higher |
| Panel Replacement | Not Recommended | Specialized tools and expertise | Include labor cost |
| Structural Repairs | Not Safe | Engineering assessment capability | Essential investment |
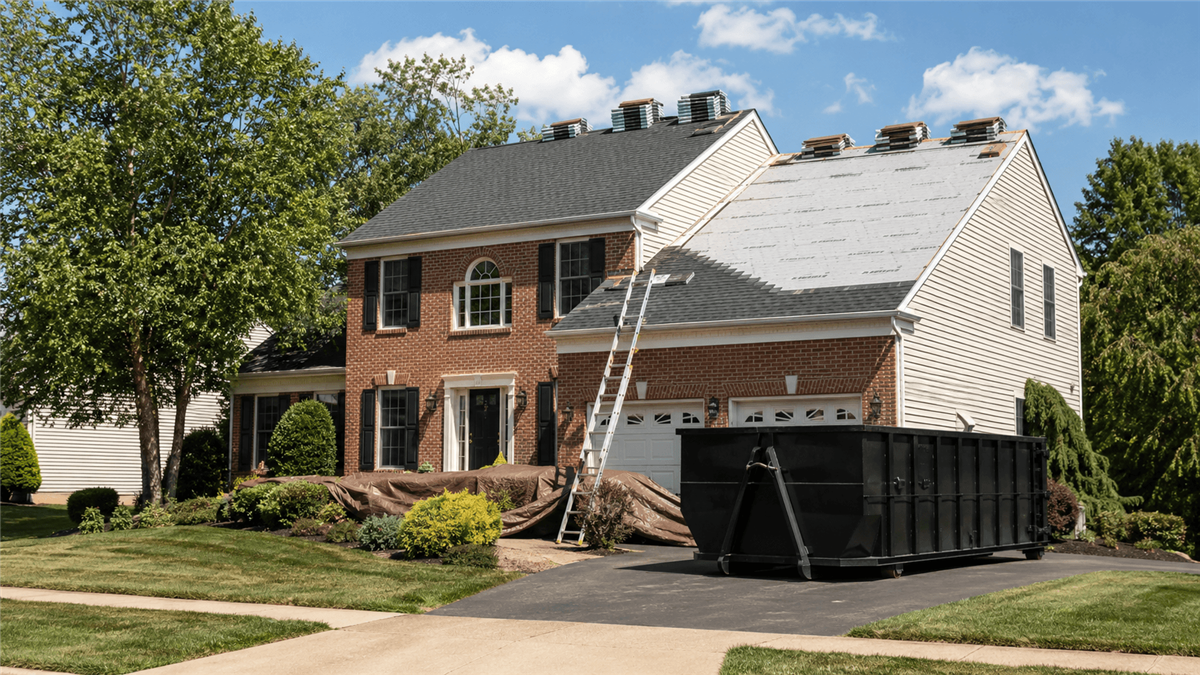
At NV Roofing, our experienced teams bring over 60 years of metal roofing expertise to every repair and installation project. We understand the specific challenges that Northern Virginia weather presents to metal roofing systems and use proven techniques that address both immediate problems and long-term durability. Our systematic approach includes thorough leak detection, proper material selection, and quality workmanship backed by strong warranties.
If you're dealing with persistent leaks or want professional assessment of your metal roof's condition, contact us for a detailed evaluation and repair recommendations.
Protecting Your Investment Long-Term
Metal roofs can develop leaks, though these issues are mostly preventable when you focus on quality installation and consistent maintenance. Water typically finds its way in through predictable spots-around penetrations, at fastener locations, and along seam connections-which makes regular inspection your strongest tool against costly damage. Checking these weak points twice each year and fixing small problems right away helps you catch issues while repair costs remain reasonable.
What separates a leak-resistant metal roof from one that constantly causes headaches usually boils down to how well it was installed and how well you maintain it. Professional roofers have the right equipment and knowledge to handle complex repairs safely, while property owners can take care of basic upkeep like visual checks and minor caulk repairs. Begin with a careful look at your roof's most exposed areas, write down anything that looks questionable, and call in professionals when the work becomes dangerous or too technical to handle yourself.
FAQs
Do metal roofs leak more in heavy rain than other roofing materials?
Metal roofs actually perform better in heavy rain than traditional shingles when properly installed, as their smooth surface sheds water quickly. However, intense rainfall can expose existing problems at penetrations and fastener points that might not show up during light rain.
What is the best coating for a metal roof to stop leaks?
Elastomeric roof coatings specifically designed for metal roofing provide the best leak protection, as they remain flexible through temperature changes and thermal expansion. These coatings should be applied over properly prepared surfaces and existing sealant repairs for maximum effectiveness.
Can a dent in a metal roof cause a leak?
A dent alone rarely causes leaks unless it compromises panel seams or creates a depression where water can pool. The bigger concern is damage to fasteners or flashing that might occur alongside the denting impact.
Why do metal roofs leak around chimneys and vents more than other areas?
These penetrations create the most complex sealing challenges because they require multiple materials to work together, and thermal movement can gradually separate the connections. Poor flashing installation or deteriorated sealant around these areas accounts for the majority of metal roof leak issues.
What can I use to seal a hole in my metal roof temporarily?
Roofing cement with a metal patch or high-quality butyl tape can provide temporary protection until professional repairs are completed. Clean the area thoroughly and ensure the temporary fix extends well beyond the hole edges for proper adhesion.
Subscribe to NV Roofing's Blog