| TL;DR: After a storm, acting within 24 hours to document damage, make temporary repairs like tarping exposed areas, and filing your insurance claim quickly can prevent costly secondary damage and protect your payout. The storm damage roof repair process works best when you pair thorough photo documentation with a licensed, insured contractor who can identify hidden issues and communicate directly with your insurance adjuster. |
The first 24 hours after a storm hits your roof matter more than most homeowners realize. The gap between a quick fix and a full replacement often comes down to how fast you act. Missing shingles, cracked flashing, hail dents, a tree branch punched through your decking - each one gets worse with every passing hour of exposure.
This guide covers the full storm damage roof repair process step by step. You'll learn how to assess what you're actually dealing with, file your insurance claim correctly, and pick a contractor who won't rip you off. That last part matters - roofing scams spike hard after every major weather event in the DMV area. No filler here. Just a clear action plan you can follow the moment the rain stops.
Types of Storm Damage That Affect Your Roof
Not all storm damage looks the same. The type of damage you're dealing with shapes everything - from how quickly you need repairs to how you approach your insurance claim. Here are the four most common categories we see across the DMV region and what each one actually does to your roof.
Wind Damage
Wind doesn't need to hit tornado-level speeds to cause real problems. Sustained gusts in the 50-60 mph range can lift shingle tabs, break their seal strips, and leave the underlayment completely exposed. The damage tends to start at the most vulnerable points - edges, ridges, and corners - where wind uplift hits hardest. Once one shingle lifts, the ones surrounding it lose their protection too. It's a domino effect that can spread across a section of your roof faster than you'd expect.
The frustrating part? Wind damage is often impossible to spot from the ground. Shingles might look perfectly fine from your driveway but have completely lost their adhesion underneath. That means your decking could be one rainstorm away from a serious leak, and you'd never know it without a proper inspection.
Hail Damage
When hail strikes asphalt shingles, it leaves behind bruised, fractured granule patterns that weaken the shingle's ability to shed water effectively. On metal roofs, you'll notice denting. On tile, expect cracks or chips. The size of the hailstone matters, but so does the angle it hits at and whether your roof was already showing signs of age. Even quarter-sized hail can shave years off your roof's remaining lifespan if it strips away enough of that protective granule layer.
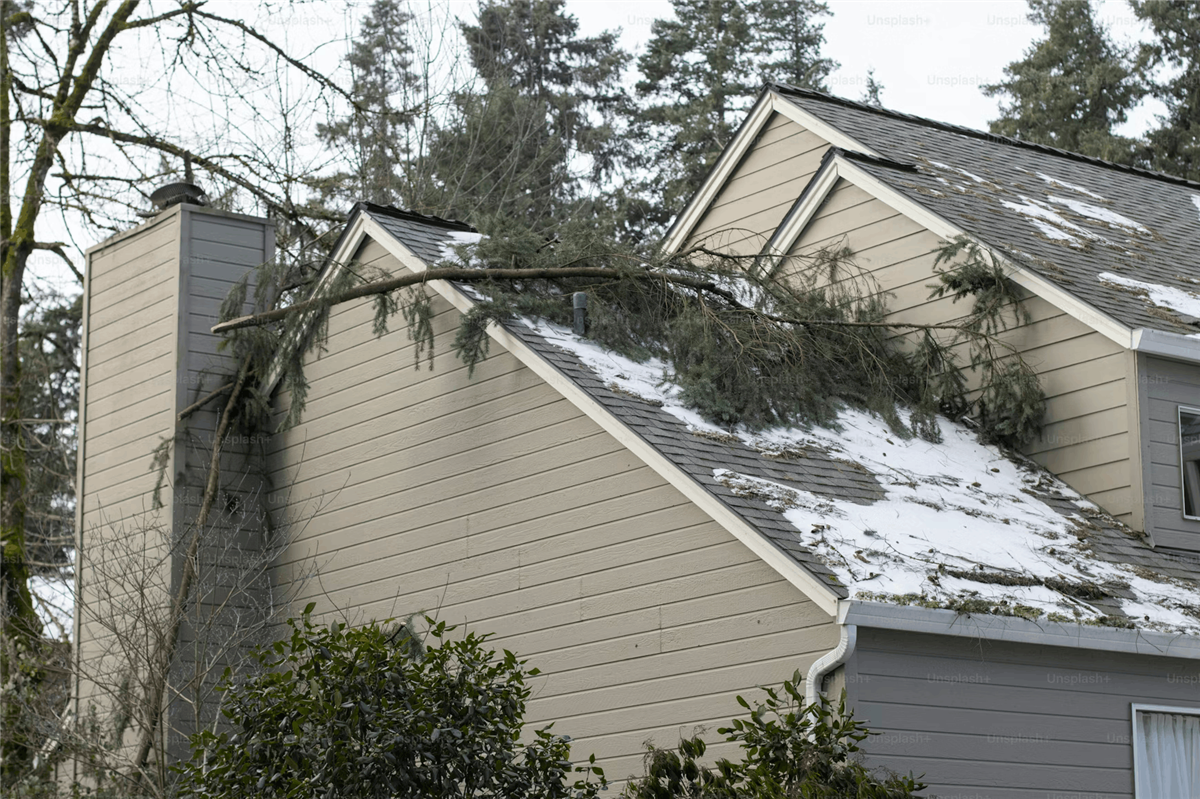
Fallen Debris and Tree Impact
Overhanging branches and dead limbs are always the first casualties during high winds. A heavy limb punching through your roof deck is hard to miss, but smaller branches cause their own set of problems - cracked flashing, dislodged ridge caps, clogged gutters - all of which create pathways for water to reach places it shouldn't. If a full tree comes down across your roofline, you're likely facing structural compromise that goes well beyond surface-level storm damage roof repair.
Water Intrusion and Ice Dams
During colder months, ice dams form when heat escaping from your attic melts snow on upper roof sections, and that meltwater refreezes along the eaves. According to UMN Extension, the backed-up water behind these ice ridges works its way through cracks in the roof covering and into attic spaces, damaging ceilings, insulation, and wall assemblies from the inside out. And ice dams aren't the only concern - wind-driven rain can push water upward beneath shingles during storms, creating leaks that standard gravity-based drainage simply wasn't designed to handle.
| Wind damage is often invisible from the ground. Shingles can lose their seal without looking displaced - leaving your roof one rainstorm away from serious water intrusion. |
How to Identify Storm Damage on Your Roof
Figuring out what kind of damage your roof took is only part of the battle. The real challenge? Actually finding it. Some damage practically announces itself from the street. Other problems stay hidden so well that even handy homeowners walk right past them. Here's how to tackle the assessment from both ground level and up close.
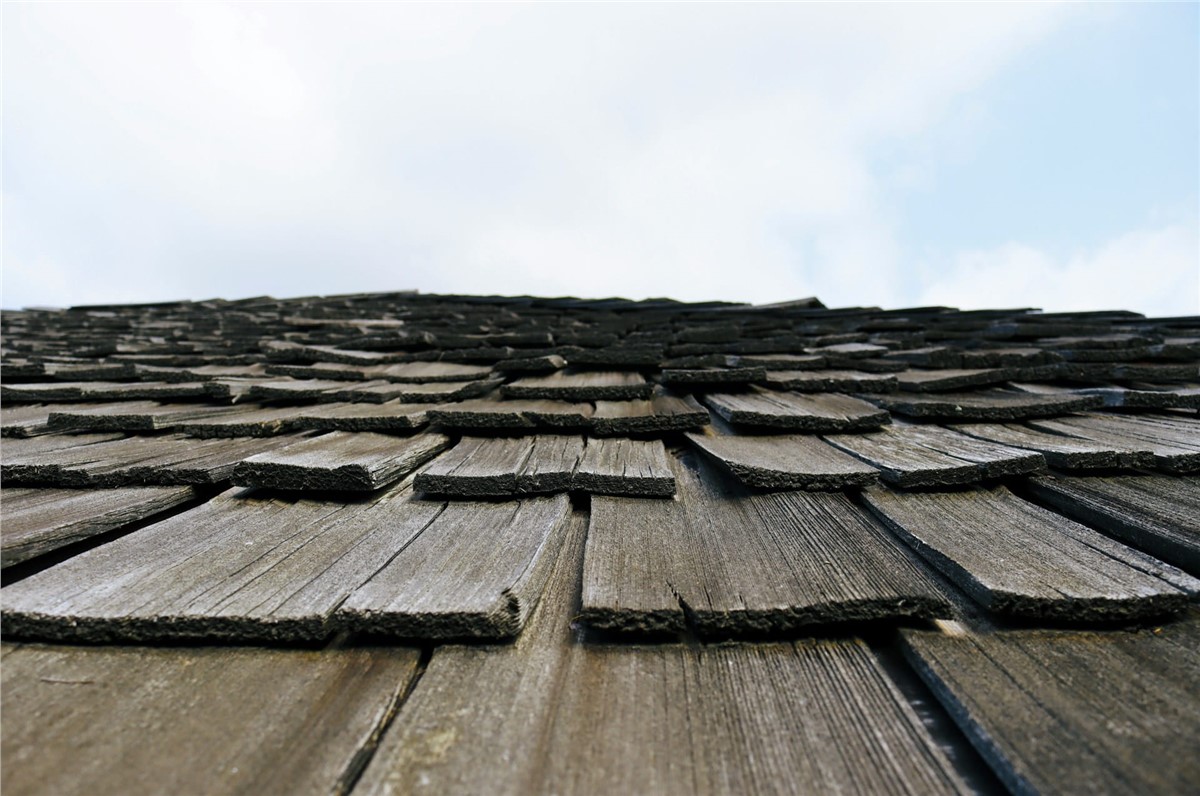
Signs You Can Spot From the Ground
You don't need to climb a ladder to start checking things out. Grab binoculars and walk slowly around your entire home. Look for shingles that appear lifted, curled, cracked, or just plain gone. Pay close attention to your gutters and downspouts - if you notice an unusual pile-up of granules (those small, sand-like particles that coat asphalt shingles), the storm likely stripped away your roof's protective surface layer. Dented gutter runs or bent flashing along the roofline usually point to hail impact. And if you spot scattered roofing debris, broken branches, or pieces of ridge cap material on the ground, something definitely made contact up top.
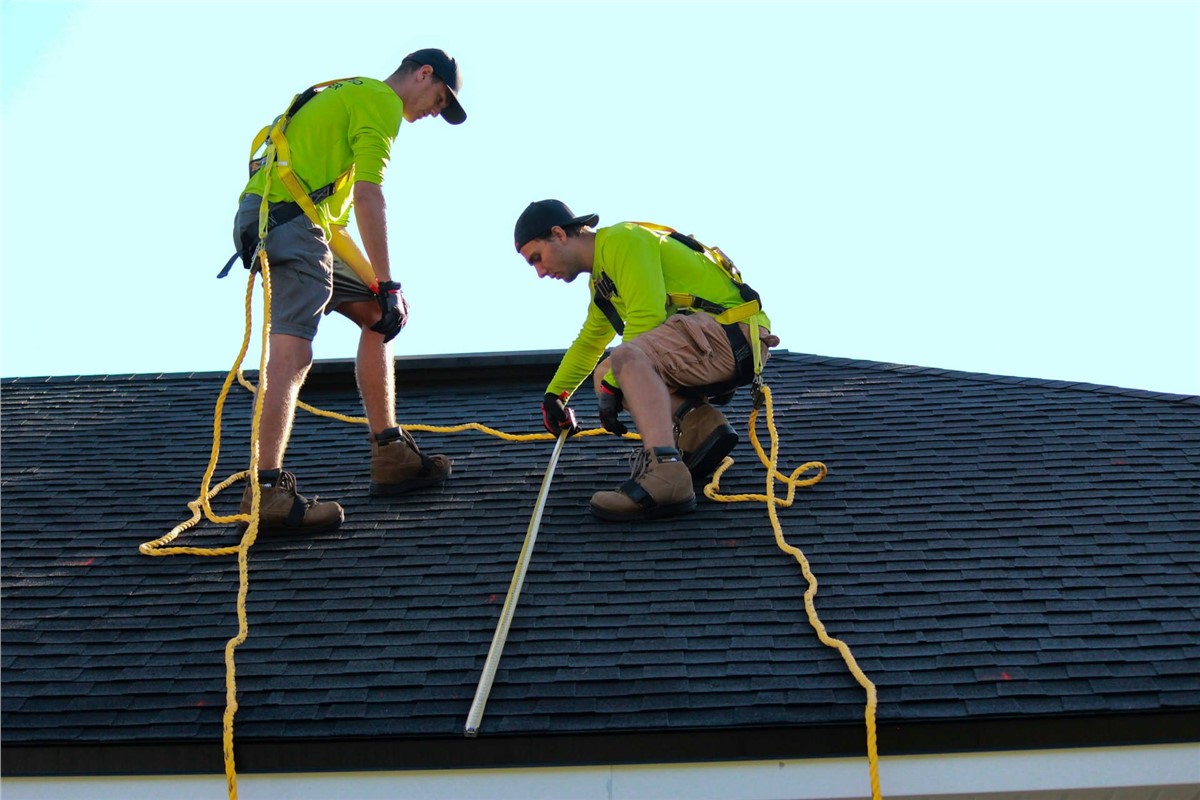
What a Professional Inspection Reveals
A trained roofing inspector picks up on things a ground-level walkthrough simply can't catch. They'll climb onto the roof, test shingle adhesion by hand, examine flashing around every penetration point (vents, chimneys, skylights), and check for soft spots in the decking that signal moisture trapped beneath the surface. They also know how to identify hail strikes that haven't cracked the surface yet but have fractured the shingle mat underneath - the kind of damage that quietly turns into leaks months down the road if nobody addresses it.
| Hail can fracture a shingle's internal mat without leaving an obvious surface crack - a type of hidden damage that often leads to leaks weeks or months after the storm. |
Professional inspectors also photograph and measure everything they find, which becomes essential when you file an insurance claim. A detailed report with annotated images carries far more weight with your adjuster than a verbal explanation of what you think went wrong.
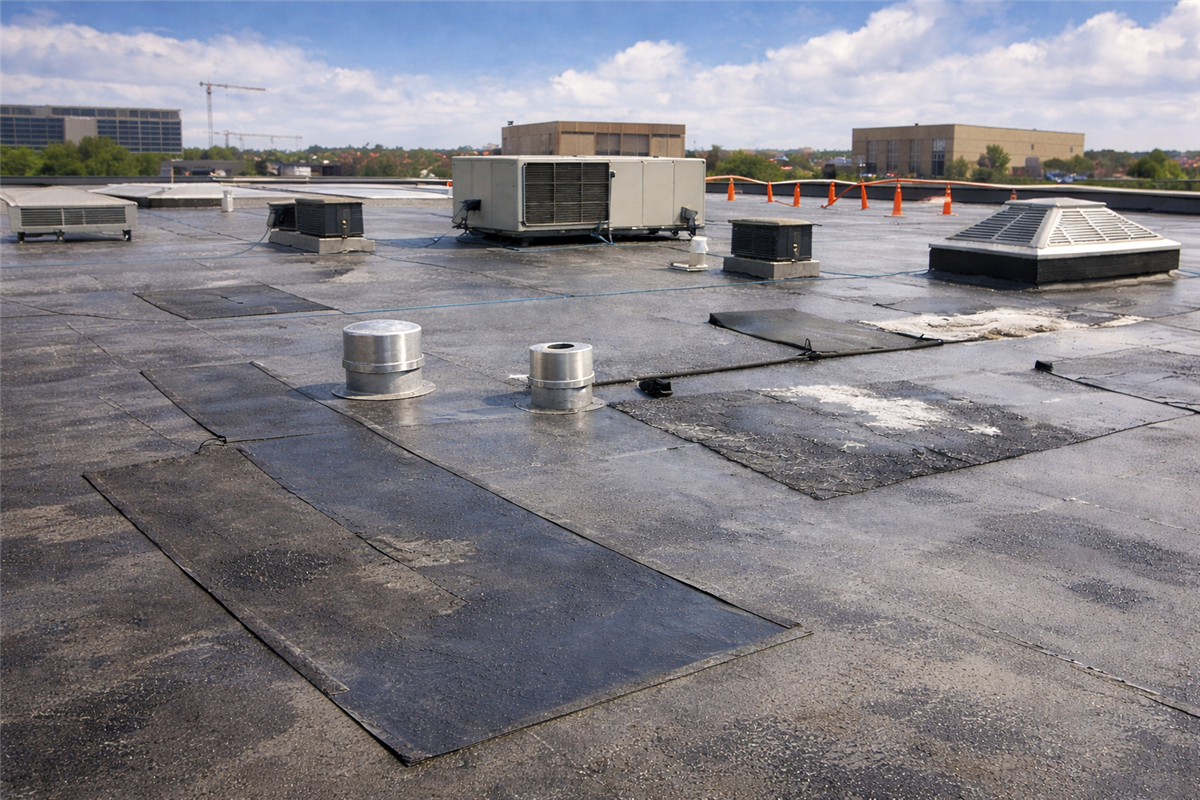
Flat Roof vs. Sloped Roof Damage
Storm damage looks different depending on your roof's pitch, and knowing what to expect for your specific roof type helps you act faster. Here's a side-by-side breakdown of how damage shows up on sloped versus flat roofs:
Damage Indicators by Roof Type
| Damage Factor | Sloped Roof | Flat Roof |
| Wind damage pattern | Lifted or missing shingles along edges, ridges, and corners | Membrane peeling, seam separation, and exposed substrate |
| Hail indicators | Granule displacement, bruised shingle mats, dented metal flashing | Punctured membrane, cracked modified bitumen, dimpled surface coating |
| Water pooling risk | Lower - gravity assists drainage unless gutters are blocked | Higher - standing water accelerates membrane deterioration and leak formation |
| Detection difficulty | Moderate - some damage visible from ground level | High - most damage requires roof-level access to identify |
| Typical repair approach | Shingle replacement, flashing repair, ridge cap reinstallation | Membrane patching, seam re-welding, full section overlay |
Commercial property managers dealing with flat-roofed buildings face an extra headache: ponding water after storms can hide punctures and tears until serious interior damage has already set in. According to HomeAdvisor, post-storm and hail roof repairs cost an average of $12,384, with most projects landing between $2,642 and $22,127 - a range that grows significantly when hidden flat-roof damage sits undetected for weeks. Whether your property has a steep-pitched residential roof or a low-slope commercial system, getting a professional on-site quickly after a storm is the single most effective way to limit what you'll eventually spend on storm damage roof repair.
Step-by-Step Guide to Storm Damage Roof Repair
Identifying the type of damage your roof sustained is only half the battle. What really saves you money and stress is knowing exactly what to do next - and in the right order. Here's the full process broken into five actionable steps, starting the moment the storm clears and ending with a fully restored roof.
Step 1: Prioritize Safety and Secure the Property
Before you inspect anything, make sure every person in your household is accounted for and safe. Keep your distance from downed power lines, and don't walk through standing water near your foundation - it could carry an electrical charge. If a tree has crashed through your roof and the structure looks unstable, stay out of the building until a professional gives the all-clear. OSHA's Fall Prevention Campaign highlights that falls remain the number one cause of death in construction settings, and that risk applies just as much to homeowners climbing ladders after a storm. The bottom line: stay off your roof entirely. The inspection can wait until it's genuinely safe to proceed.
Step 2: Document Everything for Your Insurance Claim
Once conditions are safe, grab your phone and start photographing. Every missing shingle, every dent in your gutters, every water stain creeping across your ceiling - capture it all before anything gets cleaned up or shifted around. Take wide-angle shots of each side of your home along with tight close-ups of specific damage points. Jot down the date, the approximate time the storm hit, and a short description of what you're seeing. This documentation becomes the foundation of your insurance claim, and adjusters place far more weight on timestamped visual evidence than they do on verbal descriptions shared weeks after the fact.
Step 3: Make Temporary Repairs to Prevent Further Damage
Your insurance policy almost certainly requires you to take reasonable steps to prevent additional harm to your property. That means throwing a tarp over exposed roof sections, clearing debris from gutters so water drains properly, and setting buckets under any active interior leaks. Hold onto every receipt for materials you buy - tarps, plywood, buckets - because these expenses are typically reimbursable under your claim.
| Most homeowners insurance policies require you to mitigate further damage after a storm. Failing to tarp an exposed roof section could give your insurer grounds to deny part of your claim. |
Step 4: File Your Insurance Claim
Contact your insurance company as soon as you can - ideally within 24 to 48 hours of the storm. When you call, have all your documentation organized and be specific about the damage you observed. One thing worth understanding before that conversation: the difference between Replacement Cost Value and Actual Cash Value coverage. According to the National Association of Insurance Commissioners, an RCV policy reimburses the full cost to repair or replace your roof minus your deductible, while an ACV policy factors in depreciation - which can stick you with thousands more out of pocket. Understanding which type of policy you carry before the adjuster shows up gives you a much stronger position during the claims process.
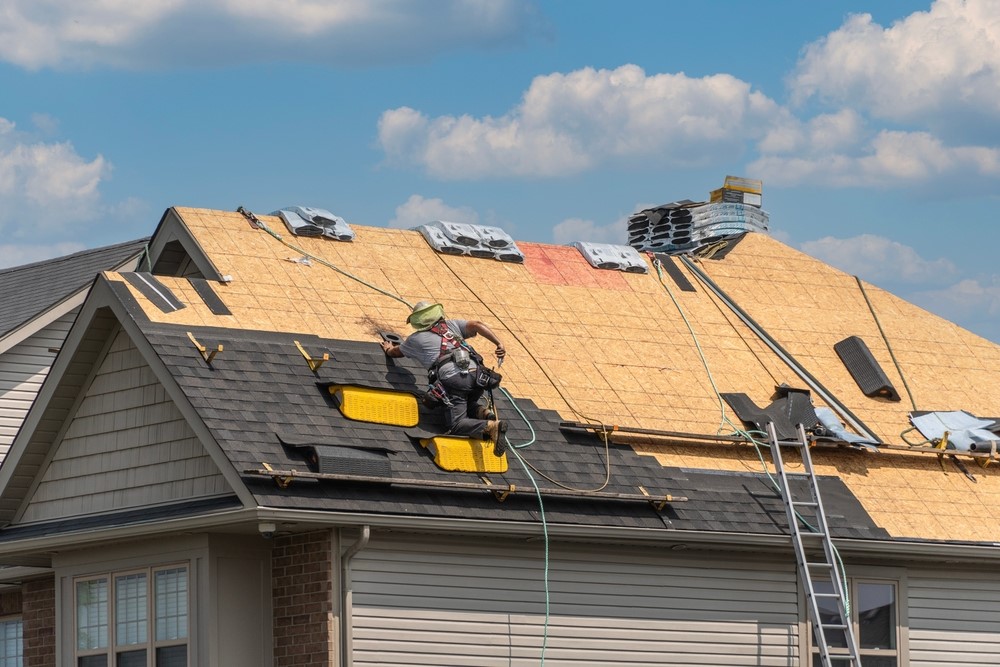
Step 5: Hire a Reputable Roofing Contractor
This is the step where the entire storm damage roof repair process either comes together or completely unravels. Get at least two or three estimates from licensed, insured contractors who have an established presence in your area. Ask to see proof of both liability insurance and workers' compensation coverage. A contractor you can trust will hand you a detailed written estimate, walk you through the scope of work in plain language, and never pressure you into signing anything on the spot. They should also be comfortable working directly with your insurance adjuster to ensure the claim reflects the true extent of repairs your roof needs.
Following these steps in order protects both your property and your budget - and keeps you from making rushed decisions that end up costing more down the road.
How NV Roofing Handles Storm Damage Restoration
Knowing the steps to take after a storm is one thing. Having a contractor who actually follows through - and keeps you in the loop the entire time - is something else entirely. Here's how NV Roofing approaches storm damage roof repair for homeowners across Northern Virginia, Maryland, and Washington, D.C.
From Emergency Tarping to Full Repair
When a storm tears through your roof, the clock starts immediately. NV Roofing's process begins with emergency tarping to stop active water intrusion before it reaches your ceilings, insulation, and wall assemblies. That temporary barrier buys you time - but it's only the first move. From there, a factory-certified crew conducts a thorough inspection of the entire roof system: shingles, flashing, ridge caps, decking, gutters, and every penetration point around vents, chimneys, and skylights.
What separates this from a generic patch job is the scope. NV Roofing doesn't just fix the obvious hole and walk away. With over 60 years of experience in the DMV region, the team knows exactly where secondary damage hides - soft decking beneath shingles that still look fine, underlayment that's been compromised but won't show symptoms for months, gutter systems knocked out of alignment by debris impact. Whether the repair calls for replacing a section of damaged shingles or a full roof replacement using high-quality asphalt, metal, or specialty roofing systems, every job is backed by strong manufacturer warranties.
| Emergency tarping isn't just about stopping leaks - it's a policy requirement. Failing to cover exposed sections can give your insurer grounds to reduce or deny your claim. |
Insurance Claim Support and Communication
Filing a storm damage claim shouldn't feel like a second disaster. NV Roofing walks homeowners through the insurance process from initial documentation all the way through final adjuster sign-off. That means detailed inspection reports with annotated photos, accurate scope-of-work estimates written in the adjuster's language, and direct communication with your insurance company when needed. You're not left trying to translate roofing jargon into claim paperwork on your own.
Here's a side-by-side look at how NV Roofing's storm restoration process compares to what you'll typically get from other contractors:
NV Roofing vs. Typical Contractor
| Service Element | NV Roofing | Typical Contractor |
| Emergency response | Same-day tarping and damage containment | Often scheduled days later or not offered |
| Inspection depth | Full-system evaluation, including hidden damage | Surface-level assessment of visible issues |
| Insurance coordination | Direct adjuster communication and claim documentation | Homeowner handles claim independently |
| Warranty backing | Factory-certified installations with manufacturer warranties | Varies widely; often limited labor warranty only |
| Additional exterior services | Gutters, siding, and windows handled under one project | Roof-only scope; other damage requires separate contractors |
Storms rarely damage just the roof. That's why NV Roofing also handles gutters, siding, and energy-efficient window replacements - all managed under one project. Having a single team handle the full exterior recovery eliminates the headache of coordinating multiple contractors and keeps everything on schedule. If your home took a hit from the last storm and you need a clear answer on what it'll take to fix it, contact us for an inspection.
FAQs
How soon should I start the storm damage roof repair process after severe weather?
You should begin documenting damage and making temporary repairs within the first 24 hours, and contact your insurance company within 48 hours to avoid complications with your claim.
Is it safe to climb on my roof to check for storm damage myself?
No, you should stay off your roof entirely after a storm since wet or damaged surfaces create serious fall hazards. Use binoculars from the ground and schedule a professional inspection for a thorough assessment.
Will my homeowners insurance cover the full cost of storm damage roof repair?
That depends on whether you carry a Replacement Cost Value or Actual Cash Value policy. RCV policies cover full repair or replacement minus your deductible, while ACV policies subtract depreciation, which can leave you paying significantly more out of pocket.
What temporary steps can I take to protect my roof before a contractor arrives?
Cover any exposed areas with a tarp secured by weighted boards, clear debris from gutters so water can drain, and place buckets under active interior leaks. Keep all receipts for materials since most insurance policies reimburse these costs.
How can I tell if my roof has hail damage that is not visible from the ground?
Hail often fractures the internal mat of a shingle without leaving obvious surface cracks, so a professional inspector needs to check shingle adhesion and granule loss up close. Checking your gutters for excessive granule buildup is one ground-level indicator that your shingles may have sustained hidden impact damage.
Subscribe to NV Roofing's Blog